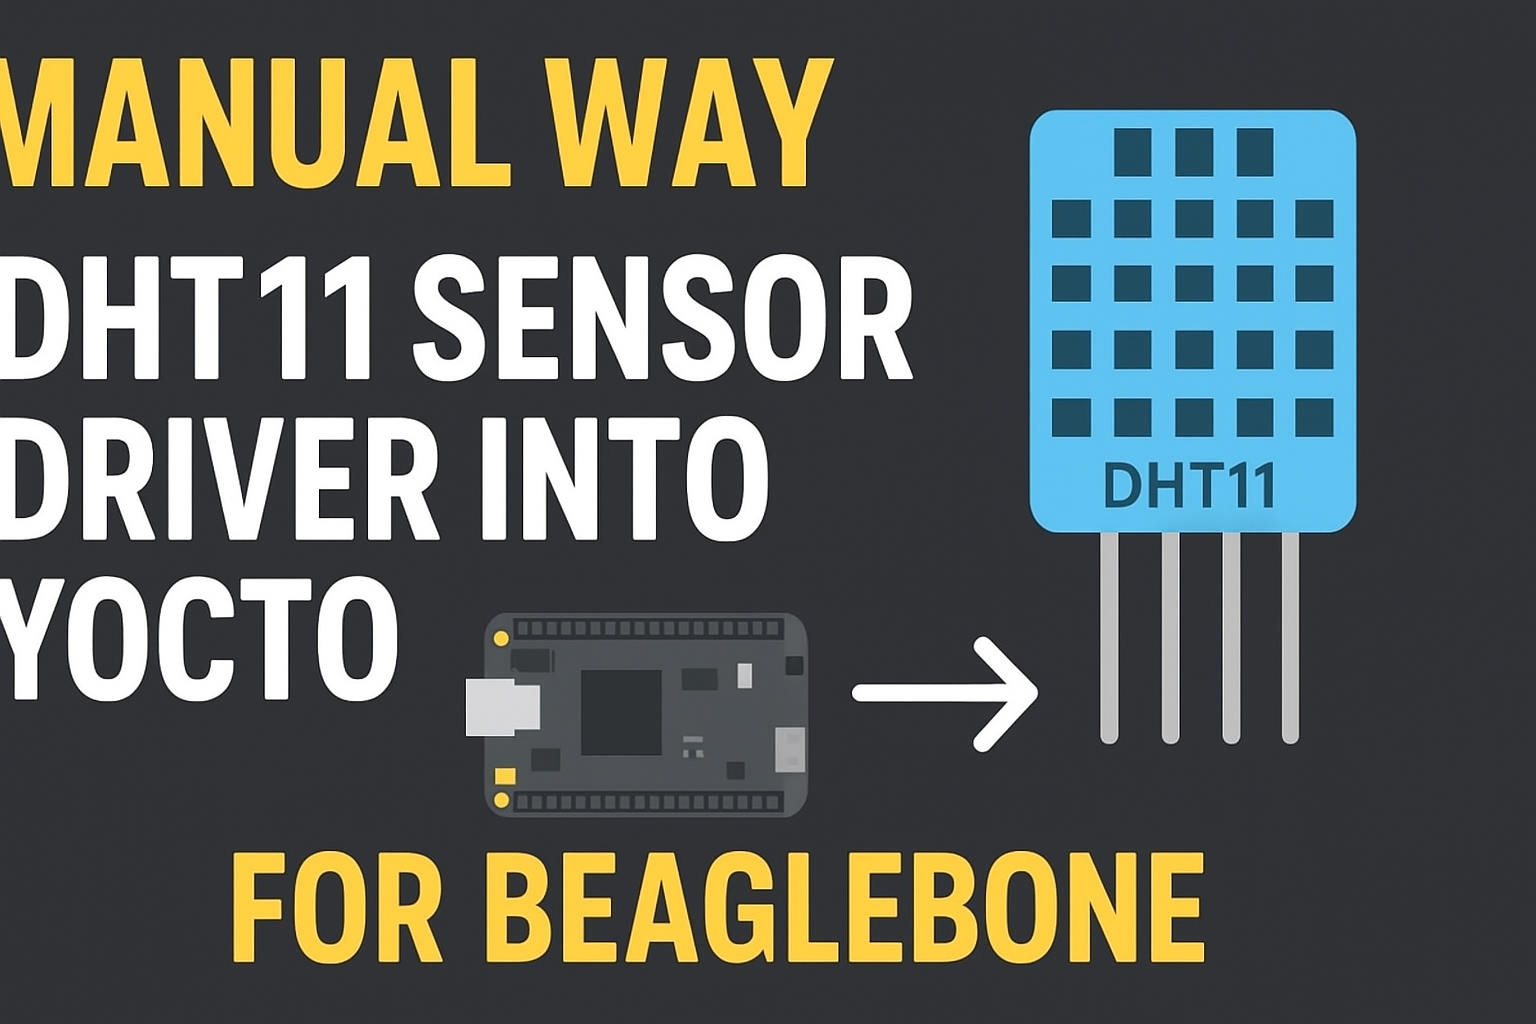
DHT11 Sensor Driver into Yocto : When I first got my BeagleBone board, I was super excited. I wanted to connect real-world sensors and see live data flowing into my board. One of the simplest yet powerful sensors I picked was the DHT11, a low-cost digital temperature and humidity sensor.
At first glance, I thought: “It should be as easy as connecting a wire and running a Python script, right?” But then came the challenge — I wanted to integrate it properly at the kernel driver level and make it part of my Yocto-built image, so that every time I flashed my SD card, my BeagleBone would already have the driver and I could directly fetch temperature readings.
If you’ve ever felt this curiosity, this guide is for you. Let’s go step by step.
Manual Way: Adding DHT11 Sensor Driver into Yocto for BeagleBone
Why DHT11 Sensor Driver into Yocto ?
- Consistency: Every image build includes your driver — no need to manually insert modules each time.
- Customization: You can control how the driver behaves and integrate it with other services.
- Scalability: If tomorrow you move to another sensor or a production board, your Yocto setup scales with you.
Step 1: Set Up Yocto Project Environment
- Download Poky and layers
git clone git://git.yoctoproject.org/poky.git cd poky git checkout# e.g., dunfell, honister - Add necessary layers for BeagleBone
git clone git://git.yoctoproject.org/meta-ti.git git clone git://git.yoctoproject.org/meta-openembedded.git - Create a build directory
source oe-init-build-env build - Set your machine in
conf/local.confMACHINE ?= "beaglebone"
Step 2: Understand Your DHT11 Sensor
- DHT11 uses 1-wire digital communication.
- Pins:
- VCC: 3.3V or 5V
- GND: Ground
- DATA: Connected to a GPIO pin on BeagleBone
- The driver needs to read the digital pulses and convert them to temperature and humidity.
Step 3: Create a Custom Layer
- Create a new layer for your driver:
bitbake-layers create-layer meta-dht11 - Add this layer to your build:
bitbake-layers add-layer ../meta-dht11
Step 4: Write the Kernel Driver
4.1: Create Driver Skeleton
- Go to your layer:
meta-dht11/recipes-kernel/dht11/ - Create
dht11.c:
#include
#include
#include
#include
#include
#include
#include

#define DHT11_PIN 60  // Example: GPIO1_28 on BeagleBone

static int major;
static char temp_str[16];

static int dht11_open(struct inode *inode, struct file *file) {
    return 0;
}

static int dht11_release(struct inode *inode, struct file *file) {
    return 0;
}

static ssize_t dht11_read(struct file *file, char __user *buf, size_t len, loff_t *offset) {
    int temperature = 25; // Mock value (we’ll implement real reading later)
    snprintf(temp_str, sizeof(temp_str), "%d\n", temperature);
    if (copy_to_user(buf, temp_str, strlen(temp_str))) {
        return -EFAULT;
    }
    return strlen(temp_str);
}

static struct file_operations fops = {
    .owner = THIS_MODULE,
    .open = dht11_open,
    .release = dht11_release,
    .read = dht11_read,
};

static int __init dht11_init(void) {
    major = register_chrdev(0, "dht11", &fops);
    printk(KERN_INFO "DHT11 driver loaded. Major=%d\n", major);
    return 0;
}

static void __exit dht11_exit(void) {
    unregister_chrdev(major, "dht11");
    printk(KERN_INFO "DHT11 driver unloaded\n");
}

module_init(dht11_init);
module_exit(dht11_exit);

MODULE_LICENSE("GPL");
MODULE_AUTHOR("Nish");
MODULE_DESCRIPTION("DHT11 temperature driver for BeagleBone");
4.2: Create the Recipe (.bb file)
- File:
meta-dht11/recipes-kernel/dht11/dht11.bb
DESCRIPTION = "DHT11 temperature driver"
LICENSE = "GPLv2"
SRC_URI = "file://dht11.c"

S = "${WORKDIR}"

do_compile() {
    ${CC} -Wall -O2 -c ${WORKDIR}/dht11.c -o ${WORKDIR}/dht11.o
    ${CC} -Wall -O2 -shared -o ${WORKDIR}/dht11.ko ${WORKDIR}/dht11.o
}

do_install() {
    install -d ${D}${sysconfdir}/modules
    install -m 0644 ${WORKDIR}/dht11.ko ${D}${sysconfdir}/modules/
}
Step 5: Build and Add Driver to Image
- Build the driver:
bitbake dht11 - Include it in your image (
local.conf):IMAGE_INSTALL_append = " dht11" - Rebuild your image:
bitbake core-image-minimal
Step 6: Boot BeagleBone and Test
- Flash
.wicimage to SD card. - Boot BeagleBone.
- Load driver:
insmod /etc/modules/dht11.ko - Check temperature:
cat /dev/dht11
Step 7: Implement Actual DHT11 Reading
- Replace mock temperature with real GPIO reading.
- Use bit-banging with
gpio_get_value()and precise timing withudelay().
Tips
- Make sure GPIO pin numbers match your BeagleBone header.
- For production, consider interrupt-based reading for better accuracy.
- Use
dmesgto debug kernel messages.
Auto Temperature Reading Without Manual Module Loading
Step 1: Setup Yocto Kirkstone Environment
- Clone Poky (Kirkstone branch):
git clone -b kirkstone git://git.yoctoproject.org/poky.git
cd poky
- Clone meta layers:
git clone -b kirkstone git://git.yoctoproject.org/meta-openembedded.git
git clone -b kirkstone git://git.yoctoproject.org/meta-ti.git
- Initialize the build environment:
source oe-init-build-env
- Set your target machine in
conf/local.conf:
MACHINE ?= "beaglebone"
Step 2: Create a Custom Layer for DHT11
- Create layer:
bitbake-layers create-layer meta-dht11
- Add it to your build:
bitbake-layers add-layer ../meta-dht11
Step 3: Write the DHT11 Driver
- Go to your layer folder:
meta-dht11/recipes-kernel/dht11/ - Create
dht11.c:
#include
#include
#include
#include
#include
#include
#include

#define DHT11_PIN 60  // Adjust according to BeagleBone header

static int major;
static char buf[32];

static int dht11_open(struct inode *inode, struct file *file) { return 0; }
static int dht11_release(struct inode *inode, struct file *file) { return 0; }

static int read_dht11(int *temperature, int *humidity) {
    int bits[40] = {0}, i, j=0, data[5] = {0};

    // Send start signal
    gpio_direction_output(DHT11_PIN, 0);
    mdelay(20);
    gpio_direction_input(DHT11_PIN);
    udelay(30);

    // Wait for response
    while(gpio_get_value(DHT11_PIN) == 1);
    while(gpio_get_value(DHT11_PIN) == 0);
    while(gpio_get_value(DHT11_PIN) == 1);

    // Read 40 bits
    for(i=0;i<40;i++){
        while(gpio_get_value(DHT11_PIN) == 0);
        j=0;
        while(gpio_get_value(DHT11_PIN) == 1){ udelay(1); j++; }
        bits[i] = (j > 40) ? 1 : 0;
    }

    // Convert bits to bytes
    for(i=0;i<5;i++){
        data[i]=0;
        for(j=0;j<8;j++){
            data[i]<<=1;
            data[i] |= bits[i*8+j];
        }
    }

    if(data[4] != ((data[0]+data[1]+data[2]+data[3]) & 0xFF)) return -1;

    *humidity = data[0];
    *temperature = data[2];
    return 0;
}

static ssize_t dht11_read(struct file *file, char __user *user_buf, size_t len, loff_t *offset){
    int temp=0, hum=0;
    if(read_dht11(&temp,&hum)!=0) return -EIO;
    snprintf(buf,sizeof(buf),"Temp:%dC Hum:%d%%\n",temp,hum);
    if(copy_to_user(user_buf,buf,strlen(buf))) return -EFAULT;
    return strlen(buf);
}

static struct file_operations fops = {
    .owner=THIS_MODULE,
    .open=dht11_open,
    .release=dht11_release,
    .read=dht11_read,
};

static int __init dht11_init(void){
    major = register_chrdev(0,"dht11",&fops);
    printk(KERN_INFO "DHT11 driver loaded. Major=%d\n",major);
    return 0;
}

static void __exit dht11_exit(void){
    unregister_chrdev(major,"dht11");
    printk(KERN_INFO "DHT11 driver unloaded\n");
}

module_init(dht11_init);
module_exit(dht11_exit);

MODULE_LICENSE("GPL");
MODULE_AUTHOR("Nish");
MODULE_DESCRIPTION("DHT11 driver for BeagleBone with real readings");
Step 4: Create the BitBake Recipe
Create dht11.bb in the same folder:
DESCRIPTION = "DHT11 Temperature & Humidity Kernel Driver"
LICENSE = "GPLv2"
SRC_URI = "file://dht11.c"

S = "${WORKDIR}"

do_compile() {
    ${CC} -Wall -O2 -c ${WORKDIR}/dht11.c -o ${WORKDIR}/dht11.o
    ${CC} -Wall -O2 -shared -o ${WORKDIR}/dht11.ko ${WORKDIR}/dht11.o
}

do_install() {
    install -d ${D}${nonarch_libdir}/modules
    install -m 0644 ${WORKDIR}/dht11.ko ${D}${nonarch_libdir}/modules/
    # Auto-load at boot
    install -d ${D}/etc/modules-load.d
    echo "dht11" > ${D}/etc/modules-load.d/dht11.conf
}
Step 5: Include Driver in Yocto Image
Edit conf/local.conf and add:
IMAGE_INSTALL_append = " dht11"
Step 6: Build the Image
bitbake core-image-minimal
After completion, your image already includes the DHT11 driver and will auto-load at boot.
Step 7: Flash SD Card and Test
- Flash
.wicimage to SD card. - Boot BeagleBone.
- Check temperature and humidity:
cat /dev/dht11
# Example output: Temp:27C Hum:55%
✅ You don’t need to insmod anymore. The driver is now part of the image.
You can also Visit other tutorials of Embedded Prep
- Multithreading in C++
- Multithreading Interview Questions
- Multithreading in Operating System
- Multithreading in Java
- POSIX Threads pthread Beginner’s Guide in C/C++
- Speed Up Code using Multithreading
- Limitations of Multithreading
- Common Issues in Multithreading
- Multithreading Program with One Thread for Addition and One for Multiplication
- Advantage of Multithreading
- Disadvantages of Multithreading
- Applications of Multithreading: How Multithreading Makes Modern Software Faster and Smarter”
- Master CAN Bus Interview Questions 2025
- What Does CAN Stand For in CAN Bus?
- CAN Bus Message Filtering Explained
- CAN Bus Communication Between Nodes With Different Bit Rates
- How Does CAN Bus Handle Message Collisions
- Message Priority Using Identifiers in CAN Protocol
Mr. Raj Kumar is a highly experienced Technical Content Engineer with 7 years of dedicated expertise in the intricate field of embedded systems. At Embedded Prep, Raj is at the forefront of creating and curating high-quality technical content designed to educate and empower aspiring and seasoned professionals in the embedded domain.
Throughout his career, Raj has honed a unique skill set that bridges the gap between deep technical understanding and effective communication. His work encompasses a wide range of educational materials, including in-depth tutorials, practical guides, course modules, and insightful articles focused on embedded hardware and software solutions. He possesses a strong grasp of embedded architectures, microcontrollers, real-time operating systems (RTOS), firmware development, and various communication protocols relevant to the embedded industry.
Raj is adept at collaborating closely with subject matter experts, engineers, and instructional designers to ensure the accuracy, completeness, and pedagogical effectiveness of the content. His meticulous attention to detail and commitment to clarity are instrumental in transforming complex embedded concepts into easily digestible and engaging learning experiences. At Embedded Prep, he plays a crucial role in building a robust knowledge base that helps learners master the complexities of embedded technologies.