Learn how to connect Wi-Fi, read Master DHT11 to Firebase ESP8266 and ESP32 Beginner’s Guide to Send Data & Display on Website (2025), and display temperature & humidity data live on your custom HTML/CSS/JS website. Learn how to read temperature & humidity from a DHT11 using ESP8266/ESP32, send it to Firebase Realtime Database over Wi-Fi, and display live readings on a custom HTML/CSS/JS website. Full code, wiring diagram, and SEO tips included.
Master DHT11 to Firebase ESP8266 and ESP32
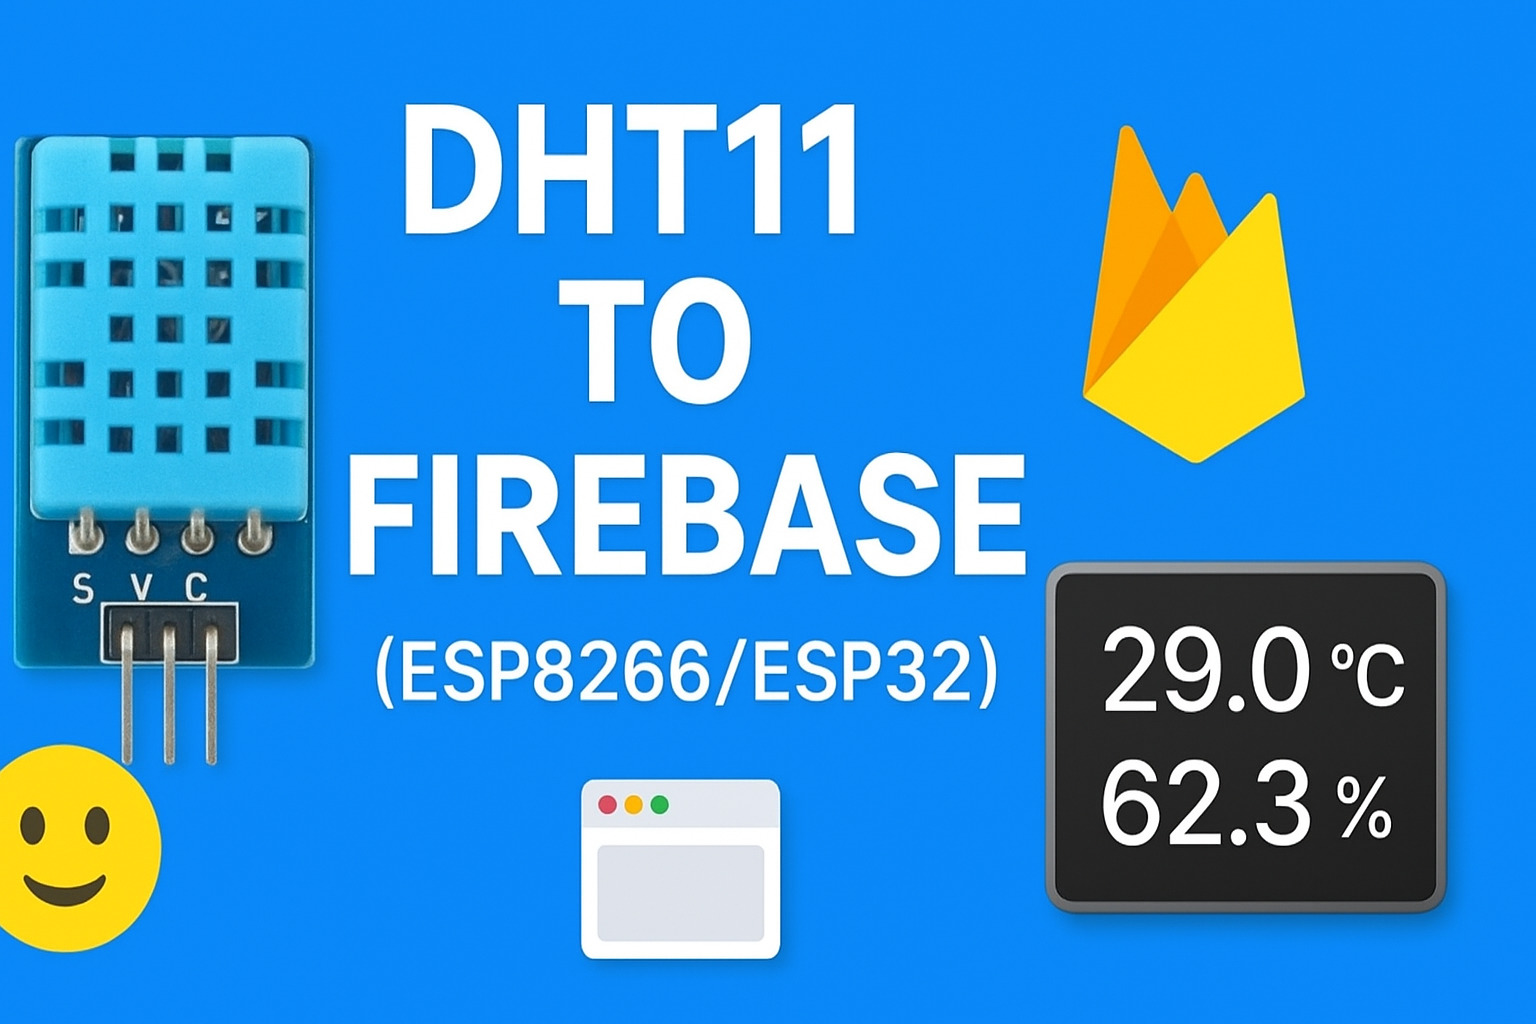
Quick overview (What you’ll build for DHT11 to Firebase ESP8266 and ESP32 )
- ESP8266/ESP32 reads temperature & humidity from a DHT11 sensor.
- Device connects to your Wi-Fi and posts JSON data to Firebase Realtime Database.
- A simple web app (HTML/CSS/JS) reads the Firebase data and displays it live.
This is a common workflow for hobby IoT dashboards. (Random Nerd Tutorials)
Prerequisites of DHT11 to Firebase ESP8266 and ESP32
- Hardware: ESP8266 NodeMCU (or ESP32), DHT11 sensor, jumper wires, breadboard, micro USB cable.
- Software: Arduino IDE (or PlatformIO), DHT library (by Adafruit or other), WiFi and HTTP client libraries (built into ESP cores), Firebase Realtime Database (a Firebase project).
- Basic familiarity with Arduino IDE and creating a Firebase project in the Firebase console. Helpful tutorials use these exact stacks. (Random Nerd Tutorials, Instructables)
Hardware wiring (simple)
- DHT11 VCC → 3.3V (or 5V depending on module; NodeMCU uses 3.3V recommended)
- DHT11 GND → GND
- DHT11 DATA → D2 (GPIO4) on NodeMCU (or any digital pin on ESP32)
- If module has a pull-up resistor, fine; if not, add a 4.7k–10k pull-up between DATA and VCC.
This wiring pattern is standard for NodeMCU+DHT setups. (Instructables, iotbyhvm.ooo)
Step 1 : Create Firebase project & Realtime Database
- Go to [Firebase console] and create a new project.
- In “Build → Realtime Database” create a database and start in test mode for development (this allows reads/writes from the device). Important: test mode is insecure — switch to proper rules and auth before production.
- Note your database URL, it looks like
https://your-project-id-default-rtdb.firebaseio.com/. You’ll use this as the base URL to POST JSON.
(Using Realtime Database + direct REST writes or Firebase libraries is the common approach for IoT devices). (Random Nerd Tutorials)
Security note: For production, secure your database with rules or use authenticated tokens. Tutorials often use test mode for beginners to simplify setup. (Random Nerd Tutorials)
Step 2 : ESP code (NodeMCU / ESP8266 example using Arduino IDE)
This example uses the DHT library + ESP8266HTTPClient to POST via Firebase REST API. Replace placeholders (SSID, PASSWORD, FIREBASE_URL) with your info.
/* DHT11 -> Firebase (ESP8266) example
   Requires libraries:
   - DHT sensor library (by Adafruit) or similar
   - ESP8266WiFi (built-in)
   - ESP8266HTTPClient (built-in)
*/

#include <ESP8266WiFi.h>
#include <ESP8266HTTPClient.h>
#include <ArduinoJson.h>    // optional but convenient
#include <DHT.h>

#define DHTPIN D2           // data pin (change if needed)
#define DHTTYPE DHT11       // DHT 11
DHT dht(DHTPIN, DHTTYPE);

const char* ssid = "YOUR_WIFI_SSID";
const char* password = "YOUR_WIFI_PASS";
const char* firebaseUrl = "https://your-project-id-default-rtdb.firebaseio.com/"; // trailing slash

unsigned long lastSend = 0;
const unsigned long sendInterval = 15000; // 15s

void setup() {
  Serial.begin(115200);
  delay(100);
  dht.begin();
  WiFi.begin(ssid, password);
  Serial.print("Connecting WiFi");
  while (WiFi.status() != WL_CONNECTED) {
    delay(500);
    Serial.print(".");
  }
  Serial.println("\nWiFi connected, IP: ");
  Serial.println(WiFi.localIP());
}

void loop() {
  if (millis() - lastSend < sendInterval) return;
  lastSend = millis();

  float h = dht.readHumidity();
  float t = dht.readTemperature();

  if (isnan(h) || isnan(t)) {
    Serial.println("Failed reading DHT sensor!");
    return;
  }

  // Build JSON
  String payload = "{";
  payload += "\"temperature\":" + String(t, 2) + ",";
  payload += "\"humidity\":" + String(h, 2) + ",";
  payload += "\"ts\":" + String(millis());
  payload += "}";

  // Firebase REST: POST to /readings.json to push a new node
  String url = String(firebaseUrl) + "readings.json"; // test mode (no auth)
  Serial.println("POST to: " + url);
  Serial.println(payload);

  if (WiFi.status() == WL_CONNECTED) {
    HTTPClient http;
    http.begin(url);
    http.addHeader("Content-Type", "application/json");
    int httpCode = http.POST(payload);
    if (httpCode > 0) {
      String resp = http.getString();
      Serial.printf("HTTP %d: %s\n", httpCode, resp.c_str());
    } else {
      Serial.printf("Failed, error: %s\n", http.errorToString(httpCode).c_str());
    }
    http.end();
  } else {
    Serial.println("WiFi not connected");
  }
}
Notes:
- This uses the Realtime Database REST API (push to
readings.json) — many community tutorials use the same method for simplicity. (How2Electronics, Instructables) - For ESP32, replace include/wifi classes accordingly and
D2pin selection may differ. See RandomNerdTutorials for ESP32 variants. (Random Nerd Tutorials)
Step 3 : Verify data in Firebase console
Open your Firebase Realtime Database in the console; you should see a /readings node with auto-generated keys and JSON objects containing temperature, humidity, and ts. This confirms successful writes. Many tutorials use this verify step. (Random Nerd Tutorials)
Step 4 : Simple web app to display readings (HTML/CSS/JS)
You can either:
- Use Firebase Web SDK (recommended) to read Realtime Database easily and show live updates; or
- Use REST calls from JS to pull latest data periodically.
Below is a minimal Firebase Web SDK example (place in index.html). Replace the firebaseConfig object with your project config (found in Firebase console → Project settings → SDK setup):
<!doctype html>
<html>
<head>
  <meta charset="utf-8">
  <meta name="description" content="Live DHT11 dashboard using Firebase Realtime Database">
  <meta name="viewport" content="width=device-width,initial-scale=1">
  <title>DHT11 Firebase Dashboard</title>
  <style>
    body{font-family:Arial,Helvetica,sans-serif;display:flex;flex-direction:column;align-items:center;padding:2rem;}
    .card{border-radius:8px;padding:1rem;box-shadow:0 6px 18px rgba(0,0,0,0.08);width:320px;text-align:center;}
    .big{font-size:2.4rem;font-weight:600;}
    .small{color:#666}
  </style>
</head>
<body>
  <div class="card">
    <div class="big" id="temp">-- °C</div>
    <div class="small">Temperature</div>
  </div>
  <div style="height:12px"></div>
  <div class="card">
    <div class="big" id="hum">-- %</div>
    <div class="small">Humidity</div>
  </div>

  <!-- Firebase SDK -->
  <script src="https://www.gstatic.com/firebasejs/9.22.0/firebase-app-compat.js"></script>
  <script src="https://www.gstatic.com/firebasejs/9.22.0/firebase-database-compat.js"></script>
  <script>
    // Replace with your Firebase config
    const firebaseConfig = {
      apiKey: "YOUR_API_KEY",
      authDomain: "YOUR_PROJECT.firebaseapp.com",
      databaseURL: "https://your-project-id-default-rtdb.firebaseio.com",
      projectId: "YOUR_PROJECT",
      storageBucket: "YOUR_PROJECT.appspot.com",
      messagingSenderId: "SENDER_ID",
      appId: "APP_ID"
    };
    firebase.initializeApp(firebaseConfig);
    const db = firebase.database();

    // Listen for last reading (assumes readings/child push used in the device)
    const readingsRef = db.ref('readings');
    // We'll query the last item:
    readingsRef.limitToLast(1).on('child_added', snapshot => {
      const data = snapshot.val();
      if (data) {
        document.getElementById('temp').textContent = (data.temperature || '--') + " °C";
        document.getElementById('hum').textContent = (data.humidity || '--') + " %";
      }
    });
  </script>
</body>
</html>
Why this works: The Firebase Web SDK keeps a realtime socket to the DB and updates the DOM when new readings arrive. This is the same approach used in many Firebase IoT dashboards. (Random Nerd Tutorials)
Common errors & troubleshooting ESP8266 and ESP32
- Wi-Fi won’t connect: check SSID/password, check 3.3V vs 5V for modules.
- DHT readings
nan: ensure correct wiring and a short delay afterdht.begin(). DHT11 is slow (max ~1Hz). - Firebase write errors (403): database rules might block unauthenticated writes — either open test mode (dev only) or implement auth. Tutorials warn about test mode. (Instructables, Arduino Forum)
FAQ of DHT11 to Firebase
Q: Do I need a Firebase paid plan?
A: No — Firebase Realtime Database has a free tier sufficient for small hobby projects. For production and heavy write/read operations, consider billing & quotas. (Random Nerd Tutorials)
Q: Can I use DHT22 instead of DHT11?
A: Yes — DHT22 gives better accuracy and range; switch DHTTYPE and wiring as needed. Many guides use either sensor. (Random Nerd Tutorials)
Q: Is it safe to keep DB in test mode?
A: No — test mode is insecure. Use Firebase rules and authentication for production. (Random Nerd Tutorials)
Sources & references (most useful tutorials / examples I consulted)
- Random Nerd Tutorials — ESP8266/ESP32 DHT web server & Firebase guides. (Random Nerd Tutorials)
- Random Nerd Tutorials — Firebase data logging + web app (examples for charts & web UI). (Random Nerd Tutorials)
- Instructables & community posts showing ESP32 + Firebase examples. (Instructables)
- Example GitHub projects for ESP32-DHT11 → Firebase. (GitHub)
You can also Visit other tutorials of Embedded Prep
- Multithreading in C++
- Multithreading Interview Questions
- Multithreading in Operating System
- Multithreading in Java
- POSIX Threads pthread Beginner’s Guide in C/C++
- Speed Up Code using Multithreading
- Limitations of Multithreading
- Common Issues in Multithreading
- Multithreading Program with One Thread for Addition and One for Multiplication
- Advantage of Multithreading
- Disadvantages of Multithreading
- Applications of Multithreading: How Multithreading Makes Modern Software Faster and Smarter”
Mr. Raj Kumar is a highly experienced Technical Content Engineer with 7 years of dedicated expertise in the intricate field of embedded systems. At Embedded Prep, Raj is at the forefront of creating and curating high-quality technical content designed to educate and empower aspiring and seasoned professionals in the embedded domain.
Throughout his career, Raj has honed a unique skill set that bridges the gap between deep technical understanding and effective communication. His work encompasses a wide range of educational materials, including in-depth tutorials, practical guides, course modules, and insightful articles focused on embedded hardware and software solutions. He possesses a strong grasp of embedded architectures, microcontrollers, real-time operating systems (RTOS), firmware development, and various communication protocols relevant to the embedded industry.
Raj is adept at collaborating closely with subject matter experts, engineers, and instructional designers to ensure the accuracy, completeness, and pedagogical effectiveness of the content. His meticulous attention to detail and commitment to clarity are instrumental in transforming complex embedded concepts into easily digestible and engaging learning experiences. At Embedded Prep, he plays a crucial role in building a robust knowledge base that helps learners master the complexities of embedded technologies.