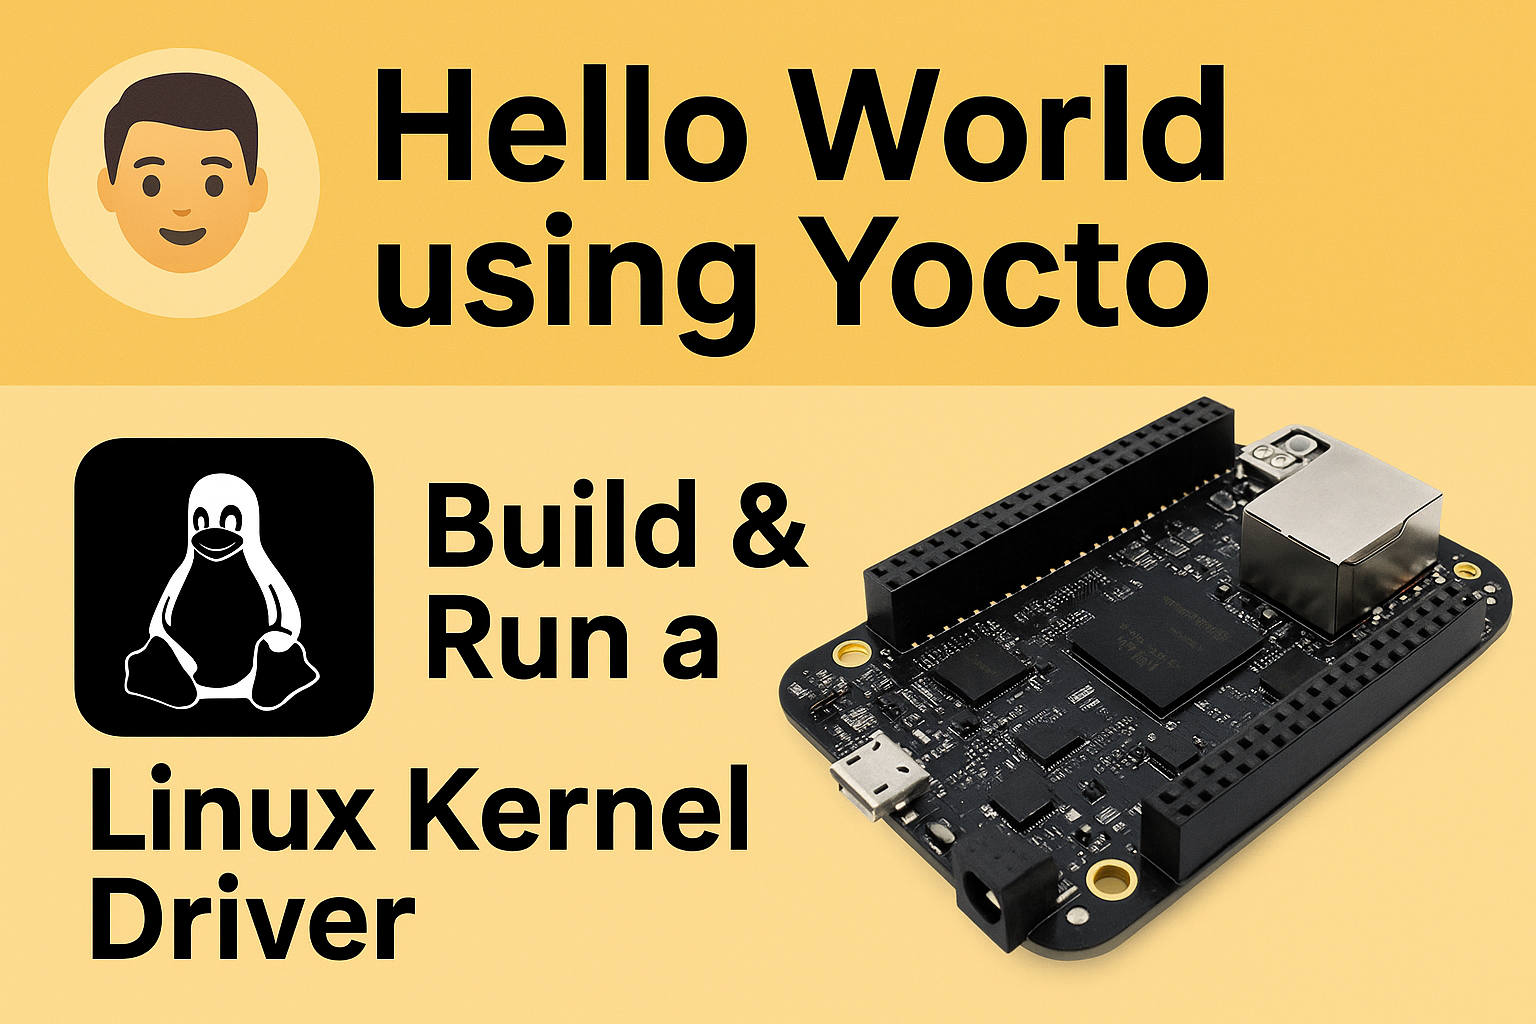
Hello World using Yocto : Learn how to build a simple “Hello World” Linux kernel module from scratch using the Yocto Project for the BeagleBone Black. This step-by-step guide covers everything you need — from installing essential build tools, cloning the Yocto and meta-ti layers, creating a custom meta layer for your kernel module, writing the driver code, creating the recipe, to building and deploying the image on your BeagleBone Black device. Perfect for embedded Linux developers and beginners, this tutorial ensures you understand how to integrate and run out-of-tree kernel modules efficiently using Yocto’s powerful build system.
What is Yocto?
Yocto Project is an open-source collaboration project that helps developers create custom Linux-based systems for embedded devices. It provides tools, templates, and methods to build your own Linux distribution tailored to your hardware and software needs.
Why use Yocto?
- Custom Linux builds: You can create a Linux system optimized for your specific hardware (like BeagleBone Black, Raspberry Pi, etc.).
- Reproducible builds: You can reproduce the exact same Linux image anytime.
- Cross-compilation: It simplifies building software on your desktop machine for another target platform.
- Scalability: Use it for small embedded devices or large, complex systems.
- Community support: Backed by many companies and contributors in the embedded world.
Key components of Yocto
- BitBake: The build engine (like
makebut more powerful for embedded Linux). - Poky: The reference distribution and set of metadata recipes.
- Recipes: Scripts that define how to build packages, kernels, and images.
- Layers: Collections of recipes and configuration that can be added to customize the build.
Who uses Yocto?
- Embedded system developers building custom Linux for hardware like automotive infotainment, IoT devices, industrial controllers, and more.
- Companies wanting to maintain full control over their embedded Linux stack.
What is Poky?
Poky is the reference build system and distribution provided by the Yocto Project. It’s basically a set of metadata, tools, and configurations that you use as a starting point to build your own custom embedded Linux images.
Details:
- Poky = Yocto Project reference system
It includes the BitBake build tool plus a collection of recipes, configuration files, and classes that define how to build software packages, the Linux kernel, and the overall system image. - It’s a base for your custom Linux
When you start a Yocto Project build, most tutorials and examples use Poky because it’s a complete and tested setup. - Contains layers like:
meta: core metadata layer with basic recipes and configurationsmeta-poky: specific poky configurations and utilitiesmeta-yocto: essential recipes for a minimal embedded Linux distribution
Why is Poky important?
- It’s the default “reference distro” for Yocto, meaning it provides a working baseline system.
- You can extend or modify Poky with additional layers to support your hardware and software requirements.
- It helps you understand how the Yocto build system works before diving into more complex customizations.
What is BitBake?
BitBake is the build engine/tool used by the Yocto Project (and Poky) to compile and assemble software components into a complete Linux image for embedded systems.
Details:
- It’s like “make” on steroids but designed specifically for building embedded Linux systems.
- BitBake reads special files called recipes (
.bbfiles), which describe how to fetch, configure, compile, and package software. - It manages complex build tasks, dependencies, and executes them in the right order.
- BitBake supports cross-compilation, so you can build software on your development machine for a different target device.
- It also handles layers, configuration, and task scheduling.
Why is BitBake important?
- It automates the entire build process for embedded Linux, from downloading source code to creating a final flashable image.
- It ensures reproducibility — builds can be repeated with the same results.
- BitBake is highly extensible and can be customized with your own recipes.
Install Yocto Prerequisites
On your Ubuntu/Debian build machine:
sudo apt update
sudo apt install -y gawk wget git-core diffstat unzip texinfo \
  gcc build-essential chrpath socat cpio python3 python3-pip python3-pexpect \
  xz-utils debianutils iputils-ping python3-git python3-jinja2 \
  libegl1-mesa libsdl1.2-dev pylint3 xterm
These are the official Yocto host dependencies.
Download Yocto (Poky) and BeagleBone BSP Layer
We’ll use the Yocto Kirkstone LTS release and meta-ti for TI boards like the BBB.
mkdir ~/yocto-bbb
cd ~/yocto-bbb

# Poky (Yocto core)
git clone -b kirkstone git://git.yoctoproject.org/poky

# TI BSP layer (BeagleBone support)
git clone -b kirkstone git://git.yoctoproject.org/meta-ti
Set Up the Build Environment
cd poky
source oe-init-build-env
This creates and moves you into a build/ directory.
Add BeagleBone Black Layers
bitbake-layers add-layer ../meta-ti
Set the Machine to BeagleBone Black
Edit conf/local.conf:
MACHINE = "beaglebone"
Create Your Custom Layer for the Driver
cd ~/yocto-bbb
bitbake-layers create-layer meta-hello
bitbake-layers add-layer ../meta-hello
Create the Hello World Kernel Module
Directory Structure:
meta-hello/
└── recipes-kernel/
    └── hello-module/
        ├── files/
        │   ├── hello.c
        │   ├── Makefile
        │   └── COPYING
        └── hello-module_0.1.bb
hello.c
#include
#include
#include

MODULE_LICENSE("GPL");
MODULE_AUTHOR("Nish");
MODULE_DESCRIPTION("Hello World Kernel Module for BeagleBone Black");

static int __init hello_init(void)
{
    printk(KERN_INFO "Hello, BeagleBone World!\n");
    return 0;
}

static void __exit hello_exit(void)
{
    printk(KERN_INFO "Goodbye, BeagleBone World!\n");
}

module_init(hello_init);
module_exit(hello_exit);
Makefile
obj-m := hello.o
COPYING
GNU GENERAL PUBLIC LICENSE
Version 2, June 1991
Get its checksum:
md5sum COPYING
hello-module_0.1.bb
SUMMARY = "Hello World Kernel Module for BeagleBone Black"
DESCRIPTION = "A simple kernel module built with Yocto for BBB"
LICENSE = "GPL-2.0"
LIC_FILES_CHKSUM = "file://COPYING;md5="

SRC_URI = "file://hello.c \
           file://Makefile \
           file://COPYING"

S = "${WORKDIR}"

inherit module
Include the Module in the Image
Edit conf/local.conf:
IMAGE_INSTALL_append = " kernel-module-hello"
(Optional: Auto-load at boot)
KERNEL_MODULE_AUTOLOAD += "hello"
Build the Image
cd ~/yocto-bbb/poky
source oe-init-build-env
bitbake core-image-minimal
After the build completes, the image will be in:
tmp/deploy/images/beaglebone/
Flash to SD Card
Insert your SD card and find its device name:
lsblk
Flash:
sudo dd if=tmp/deploy/images/beaglebone/core-image-minimal-beaglebone.wic of=/dev/sdX bs=4M status=progress
sync
Boot BeagleBone Black
- Insert SD card into BBB
- Power it up (hold BOOT button if needed to boot from SD)
Test the Module on BBB
# Check if auto-loaded
lsmod | grep hello

# If not, load manually
sudo modprobe hello

# Check kernel logs
dmesg | tail

# Remove module
sudo rmmod hello
dmesg | tail
Expected output:
[   15.123456] Hello, BeagleBone World!
[   20.654321] Goodbye, BeagleBone World!
✅ You’ve successfully built, packaged, and run a Hello World Linux kernel driver on BeagleBone Black using Yocto!
Frequently asked questions (FAQ) | Hello World using Yocto
1. What is Yocto and why use it for building kernel modules?
Yocto is a powerful open-source build system for creating custom Linux distributions for embedded devices like BeagleBone Black. Using Yocto to build kernel modules ensures reproducible builds, automatic packaging, and easy integration into your custom image.
2. How do I install the necessary host tools for Yocto?
On Ubuntu/Debian, run:
sudo apt install gawk wget git-core diffstat unzip texinfo gcc build-essential chrpath socat cpio python3 python3-pip python3-pexpect xz-utils
This installs all required tools and dependencies for Yocto to build properly.
3. Why do I need to clone both ‘poky’ and ‘meta-ti’ repositories?
‘poky’ is the main Yocto reference distribution containing BitBake and core layers. ‘meta-ti’ provides board support packages (BSP) and recipes specific to Texas Instruments devices like the BeagleBone Black.
4. How do I add my own kernel module to the Yocto build?
Create a custom meta layer (meta-hello), add your kernel module source and recipe inside it, then add this layer to your build using bitbake-layers add-layer. Finally, append your kernel module package to IMAGE_INSTALL in local.conf.
5. What does inherit module do in the recipe?
It tells Yocto that this recipe builds a kernel module, so it sets up the proper build environment, compiles the code against the kernel headers, and packages the module correctly.
6. How do I ensure my module loads automatically on boot?
Set the variable KERNEL_MODULE_AUTOLOAD += "hello" in your local.conf or image recipe. Yocto will then create the necessary config files to load your module during system startup.
7. What if my module doesn’t load or I get errors?
- Check kernel logs with
dmesgto see error messages. - Verify that the module is actually included in your image (
IMAGE_INSTALL). - Make sure the kernel version on your target matches the one you built the module for.
- Use
modprobeinstead ofinsmodto handle dependencies.
8. How do I flash the Yocto-built image to the BeagleBone Black?
Use dd to write the .wic image to your SD card:
sudo dd if=core-image-minimal-beaglebone.wic of=/dev/sdX bs=4M status=progress && sync
Replace /dev/sdX with your actual SD card device.
9. Can I build and test the kernel module without building the entire image?
Yes! You can build just the module by running:
bitbake hello-module
Then manually copy the resulting .ko file to the target and load it with insmod or modprobe.
10. Where can I find more resources to learn Yocto and kernel module development?
You can also Visit other tutorials of Embedded Prep
- Multithreading in C++
- Multithreading Interview Questions
- Multithreading in Operating System
- Multithreading in Java
- POSIX Threads pthread Beginner’s Guide in C/C++
- Speed Up Code using Multithreading
- Limitations of Multithreading
- Common Issues in Multithreading
- Multithreading Program with One Thread for Addition and One for Multiplication
- Advantage of Multithreading
- Disadvantages of Multithreading
- Applications of Multithreading: How Multithreading Makes Modern Software Faster and Smarter”
Mr. Raj Kumar is a highly experienced Technical Content Engineer with 7 years of dedicated expertise in the intricate field of embedded systems. At Embedded Prep, Raj is at the forefront of creating and curating high-quality technical content designed to educate and empower aspiring and seasoned professionals in the embedded domain.
Throughout his career, Raj has honed a unique skill set that bridges the gap between deep technical understanding and effective communication. His work encompasses a wide range of educational materials, including in-depth tutorials, practical guides, course modules, and insightful articles focused on embedded hardware and software solutions. He possesses a strong grasp of embedded architectures, microcontrollers, real-time operating systems (RTOS), firmware development, and various communication protocols relevant to the embedded industry.
Raj is adept at collaborating closely with subject matter experts, engineers, and instructional designers to ensure the accuracy, completeness, and pedagogical effectiveness of the content. His meticulous attention to detail and commitment to clarity are instrumental in transforming complex embedded concepts into easily digestible and engaging learning experiences. At Embedded Prep, he plays a crucial role in building a robust knowledge base that helps learners master the complexities of embedded technologies.


