Makefile and CMake: A Beginner’s Guide for Embedded Projects
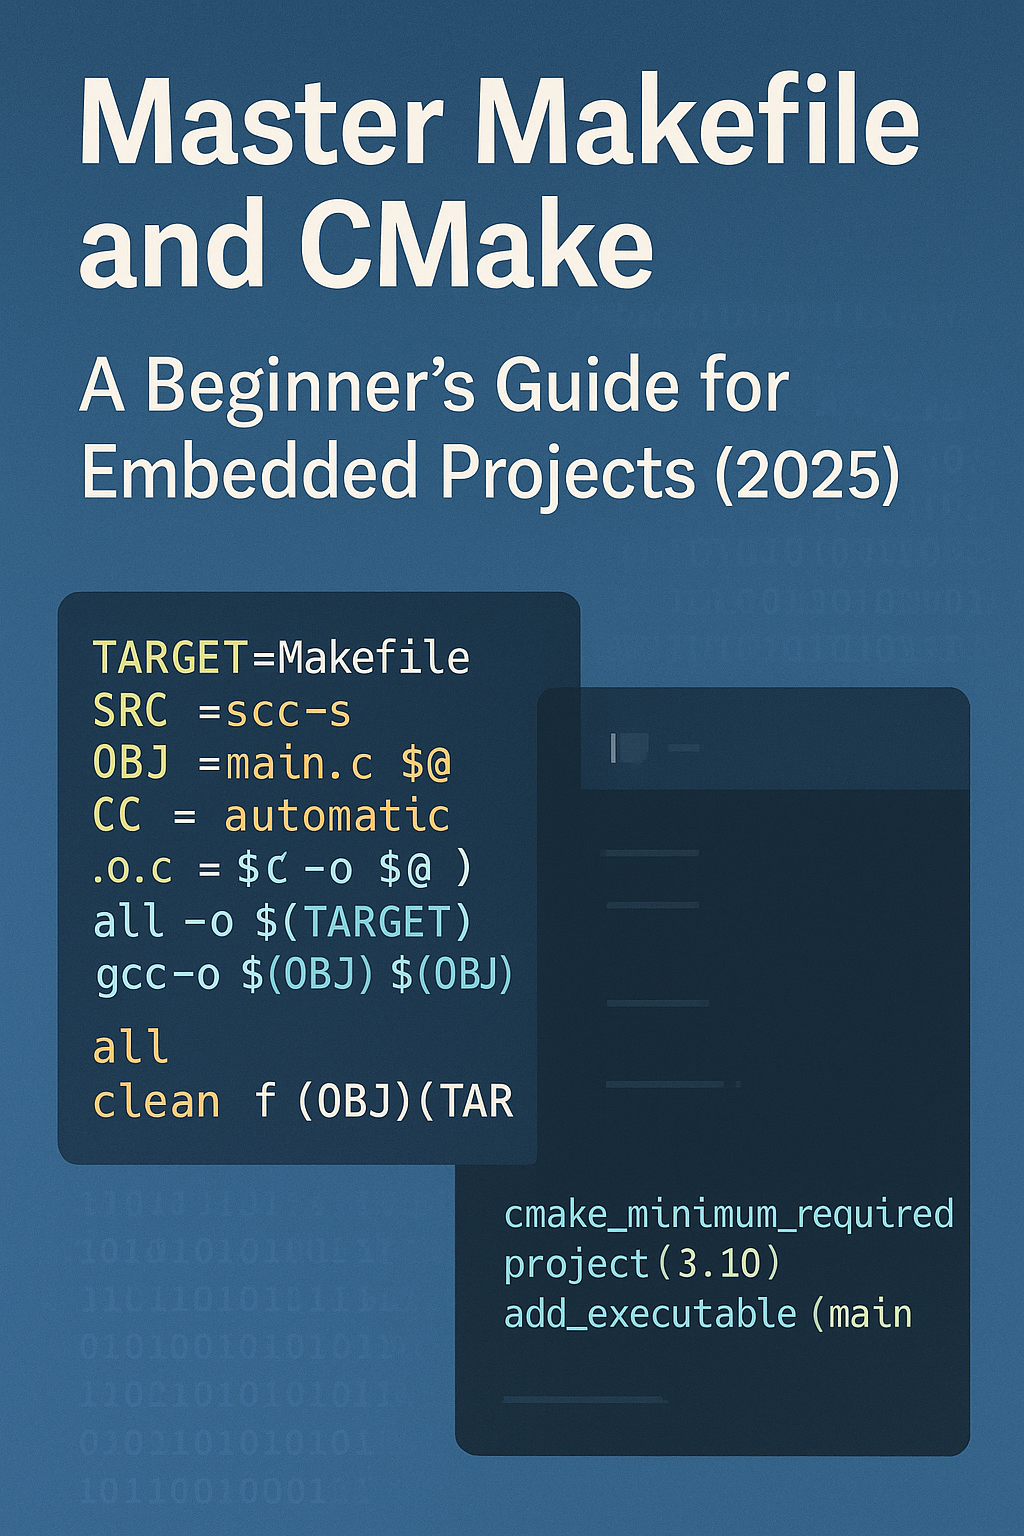
Makefile and CMake : In the world of embedded systems, building and compiling software requires a solid understanding of how to manage dependencies and automate the process. Makefile and CMake are two key tools used for this purpose. Let’s dive into what each of them is and how they are used in embedded projects.
1. What is a Makefile?
A Makefile is a file that contains a set of rules used by the make utility to automatically build and manage dependencies in a project. It defines how to compile and link the application, how the build process works, and how different files interact with each other. Makefiles are particularly useful in embedded systems because they allow developers to efficiently manage the compilation of large projects with multiple files and dependencies.
In embedded systems and low-level software development, automating the build process is essential for productivity and reliability. This article covers:
- ✅ Makefile Basics
- ✅ Makefile Variables, Targets, and Rules
- ✅ Makefile for Embedded Projects
- ✅ CMake Basics
- ✅ Writing CMakeLists.txt
- ✅ CMake vs Make
- ✅ Cross-compilation with CMake
Makefile Basics
make is a build automation tool that uses a file named Makefile to describe how to compile and link a program. The Makefile contains rules to tell make how to build the targets (like .o or .elf files).
Structure of a Makefile
target: dependencies
command target: usually the name of the file to generate (likemain.oorapp.elf)dependencies: files that must exist or be updated before the target is builtcommand: shell command to generate the target from the dependencies
Makefile Variables, Targets, and Rules
Variables
Makefiles use variables to simplify and reuse values:
CC = gcc
CFLAGS = -Wall -O2
Use them like this:
$(CC) $(CFLAGS) -o main main.c
Targets and Rules
main: main.o utils.o
    $(CC) -o main main.o utils.o
Example Makefile
CC = gcc
CFLAGS = -Wall -Wextra

all: main

main: main.o utils.o
    $(CC) $(CFLAGS) -o main main.o utils.o

main.o: main.c
    $(CC) $(CFLAGS) -c main.c

utils.o: utils.c
    $(CC) $(CFLAGS) -c utils.c

clean:
    rm -f *.o main
Run make to build and make clean to delete generated files.
Makefile for Embedded Projects
In embedded systems, we use a cross-compiler and build .elf files for a different architecture (e.g., ARM Cortex-M).
Example: Makefile for STM32 with arm-none-eabi-gcc
CC = arm-none-eabi-gcc
CFLAGS = -Wall -mcpu=cortex-m4 -mthumb -O2
LDFLAGS = -Tstm32.ld

OBJS = main.o startup.o

all: firmware.elf

firmware.elf: $(OBJS)
    $(CC) $(CFLAGS) $(LDFLAGS) -o $@ $^

%.o: %.c
    $(CC) $(CFLAGS) -c $< -o $@

clean:
    rm -f *.o *.elf
💛 Support Embedded Prep
If you find our tutorials helpful and want to support our mission of sharing high-quality embedded system knowledge, you can contribute by buying us a coffee. Every small contribution helps us keep creating valuable content for learners like you. ☕
Thank you for your support — it truly keeps Embedded Prep growing. 💻✨
CMake Basics
CMake is a more modern and platform-independent build system generator. It produces Makefiles or project files (e.g., for Visual Studio) from a CMakeLists.txt file.
Why CMake?
- Portable across Linux, Windows, macOS
- Supports cross-compilation
- Easily integrates with IDEs and external libraries
Writing CMakeLists.txt
A simple CMakeLists.txt for a C/C++ project:
cmake_minimum_required(VERSION 3.10)
project(MyProject C)

set(CMAKE_C_STANDARD 99)

add_executable(my_app main.c utils.c)
With Custom Flags
set(CMAKE_C_FLAGS "-Wall -O2")
For Embedded Toolchain
set(CMAKE_SYSTEM_NAME Generic)
set(CMAKE_C_COMPILER arm-none-eabi-gcc)
set(CMAKE_C_FLAGS "-mcpu=cortex-m4 -mthumb -Wall")
CMake vs Make
| Feature | Make | CMake |
|---|---|---|
| Simplicity | Simple and manual | More abstract and modular |
| Portability | Unix-based mostly | Cross-platform support |
| Dependency Mgmt | Manual | Automatic with target_link_libraries() |
| IDE Integration | Limited | Easy integration (e.g., CLion, VSCode) |
| Cross-compilation | Needs effort | Built-in support via toolchains |
Cross-compilation with CMake (Beginner Friendly)
To compile code for an embedded board (e.g., ARM), you need a toolchain file.
🧾 Toolchain file: arm-gcc-toolchain.cmake
set(CMAKE_SYSTEM_NAME Generic)
set(CMAKE_SYSTEM_PROCESSOR cortex-m4)

set(CMAKE_C_COMPILER arm-none-eabi-gcc)
set(CMAKE_CXX_COMPILER arm-none-eabi-g++)

set(CMAKE_C_FLAGS "-mcpu=cortex-m4 -mthumb -Wall")
🧪 Building with CMake
mkdir build
cd build
cmake .. -DCMAKE_TOOLCHAIN_FILE=../arm-gcc-toolchain.cmake
make
Summary
| Concept | Use Case |
|---|---|
| Makefile | Simple, fast build control |
| Makefile for embedded | Customize for cross-compilation |
| CMake | Portable, modern build system |
| CMakeLists.txt | Project setup instructions |
| CMake vs Make | Choose based on project complexity |
| Cross-compilation | Use toolchain files with CMake |
Mini Project: LED Blinking with Timer on STM32 (or any ARM Cortex-M)
Features:
- Uses embedded C
- Supports building with Makefile and CMake
- Configurable for cross-compilation
- Blinks an LED using hardware timer
- Easy to test in STM32CubeIDE or real hardware (e.g., STM32F4, STM32F1, or QEMU)
Folder Structure
led-blink/
├── src/
│   ├── main.c
│   └── timer.c
├── inc/
│   └── timer.h
├── Makefile
├── CMakeLists.txt
├── toolchain/
│   └── arm-gcc-toolchain.cmake
└── stm32.ld
1. main.c
#include "timer.h"

int main(void) {
    timer_init();
    while (1) {
        toggle_led();    // toggles GPIO pin
        delay_ms(500);   // delay using timer
    }
}
2. timer.c
#include "timer.h"
#include "stm32f4xx.h" // MCU-specific header

void timer_init() {
    RCC->AHB1ENR |= RCC_AHB1ENR_GPIOAEN;
    GPIOA->MODER |= (1 << (5 * 2));
}

void toggle_led() {
    GPIOA->ODR ^= (1 << 5);
}

void delay_ms(int ms) {
    for (volatile int i = 0; i < ms * 8000; i++);
}
3. timer.h
#ifndef TIMER_H
#define TIMER_H

void timer_init(void);
void toggle_led(void);
void delay_ms(int ms);

#endif
4. Makefile
CC = arm-none-eabi-gcc
CFLAGS = -mcpu=cortex-m4 -mthumb -Wall -O2
LDFLAGS = -Tstm32.ld

SRCS = src/main.c src/timer.c
OBJS = $(SRCS:.c=.o)

INCLUDES = -Iinc

all: led.elf

led.elf: $(OBJS)
$(CC) $(CFLAGS) $(INCLUDES) -o $@ $^ $(LDFLAGS)

%.o: %.c
$(CC) $(CFLAGS) $(INCLUDES) -c $< -o $@

clean:
rm -f src/*.o *.elf
5. CMakeLists.txt
cmake_minimum_required(VERSION 3.10)
project(LED_Blink C)

include_directories(inc)
file(GLOB SOURCES "src/*.c")

add_executable(led.elf ${SOURCES})

set(CMAKE_C_FLAGS "-mcpu=cortex-m4 -mthumb -Wall -O2")
set(CMAKE_EXE_LINKER_FLAGS "-T${CMAKE_SOURCE_DIR}/stm32.ld")
6. toolchain/arm-gcc-toolchain.cmake
set(CMAKE_SYSTEM_NAME Generic)
set(CMAKE_SYSTEM_PROCESSOR cortex-m4)

set(CMAKE_C_COMPILER arm-none-eabi-gcc)
set(CMAKE_CXX_COMPILER arm-none-eabi-g++)

set(CMAKE_C_FLAGS "-mcpu=cortex-m4 -mthumb -Wall -O2")
7. stm32.ld (Example Linker Script)
You can use an STM32 linker script from CubeIDE or a sample like:
ENTRY(Reset_Handler)

MEMORY
{
  FLASH (rx) : ORIGIN = 0x08000000, LENGTH = 512K
  RAM (rwx) : ORIGIN = 0x20000000, LENGTH = 128K
}

SECTIONS
{
  .text : {
    KEEP(*(.isr_vector))
    *(.text*)
    *(.rodata*)
  } > FLASH

  .data : {
    *(.data*)
  } > RAM AT > FLASH

  .bss : {
    *(.bss*)
  } > RAM
}
Building Instructions
With Make
make
With CMake (Cross-Compile)
mkdir build
cd build
cmake .. -DCMAKE_TOOLCHAIN_FILE=../toolchain/arm-gcc-toolchain.cmake
make
Difference Between Make and CMake
Make and CMake are both tools used for automating the build process, but they serve different purposes and have distinct features. Here’s a detailed comparison:
1. What They Do
- Make:
Makeis a build automation tool that reads a Makefile, a script that defines rules for compiling and linking a project. It determines how to update files and handles the dependencies between source files, object files, and executables. Make is platform-dependent, and it requires you to manually specify how each file in the project should be compiled and linked. - CMake:
CMakeis a build system generator. It generates platform-specific build files (e.g., Makefiles, Visual Studio project files, etc.) from a CMakeLists.txt configuration file. CMake is platform-independent and simplifies the process of generating appropriate build scripts for different systems or toolchains. CMake abstracts the complexity of platform-specific details, allowing you to focus on the project itself rather than how to compile it.
2. Platform Dependency
- Make:
Make is typically used on Unix-like systems (Linux, macOS). Although it can be used on Windows with tools like MinGW, it’s less flexible in cross-platform environments. - CMake:
CMake is cross-platform by design. It can generate build files for different platforms (Linux, Windows, macOS, and embedded systems) and for different build systems (e.g., Make, Ninja, Visual Studio). This makes CMake more versatile for larger projects that need to run on multiple platforms.
3. Configuration
- Make:
In Make, the configuration is done directly in the Makefile. The Makefile contains instructions about how to build the project, including which compiler to use, flags, dependencies, and rules. You have to write all these rules manually. - CMake:
In CMake, the configuration is done in the CMakeLists.txt file. This file is platform-independent, and CMake will use it to generate the appropriate build files for the target platform and build system. You don’t have to worry about platform-specific details in the configuration file.
4. Cross-Platform Support
- Make:
Makefiles are often written for a specific platform. For example, a Makefile might be written for Linux usinggccandg++. While Make can be used on other platforms (e.g., Windows with MinGW), it’s not as flexible or automatic in handling different platforms or toolchains. - CMake:
CMake handles cross-platform development out of the box. By using CMake, you can generate Makefiles for Linux, Visual Studio projects for Windows, and Xcode projects for macOS from the same set of source files. You can also configure CMake to handle cross-compilation for embedded systems and different toolchains.
5. Ease of Use
- Make:
Make requires you to manually write and manage all the build instructions in the Makefile. This can become complex for large projects with many dependencies. However, for small projects, Makefiles can be simpler and more straightforward. - CMake:
CMake simplifies the process by automatically generating build scripts for different platforms. Once you set up aCMakeLists.txtfile, you don’t need to worry about platform-specific details. This makes CMake more user-friendly, especially for larger and cross-platform projects.
6. Flexibility
- Make:
Make gives you fine-grained control over every step of the build process. If you need to customize the build process extensively, Make allows you to do so. However, this flexibility comes at the cost of having to write more rules and configurations manually. - CMake:
CMake provides a higher level of abstraction. It simplifies common build tasks but might not offer the same level of control over each step of the process. However, CMake can still be customized using its scripting capabilities if needed.
7. Dependency Management
- Make:
In Makefiles, you have to manually specify dependencies between files. If a source file changes, Make checks the dependencies to determine which files need to be recompiled. While this works well, it can be tedious to manage for large projects. - CMake:
CMake automatically manages dependencies by analyzing theCMakeLists.txtfile. It can detect source file changes and re-run the necessary build commands. For complex projects, CMake simplifies dependency management by usingtarget_link_libraries()and other CMake functions.
8. Common Use Cases
- Make:
- Simple projects or small scripts.
- Projects where the developer needs complete control over the build process.
- Embedded projects targeting a specific platform (if using a specific toolchain).
- CMake:
- Large, cross-platform projects.
- Projects that target multiple platforms (e.g., Windows, Linux, macOS) or need to be compiled on different systems.
- Embedded projects with a complex toolchain setup.
- Projects that need to integrate with external libraries or frameworks.
9. Example Workflow
- Make:
- Write a Makefile with rules and dependencies.
- Run the
makecommand to execute the build process. - Manually update the Makefile as the project grows.
- CMake:
- Write a CMakeLists.txt file describing the project configuration.
- Run
cmaketo generate the appropriate build system files. - Run
makeor another build tool to compile the project. - CMake handles generating platform-specific build scripts automatically.
10. Summary
| Feature | Make | CMake |
|---|---|---|
| Purpose | Build automation tool | Build system generator |
| Platform Support | Platform-dependent | Cross-platform |
| Configuration | Manual configuration in Makefile | Configuration in CMakeLists.txt |
| Flexibility | High flexibility, but manual | Higher-level abstraction |
| Ease of Use | Requires manual rules and dependencies | More automated, especially for cross-platform builds |
| Dependency Management | Manual | Automatic via CMakeLists.txt |
| Use Case | Small projects, fine-grained control | Large, cross-platform, and complex projects |
| Toolchain Handling | Manual setup for toolchains | Automatic handling of toolchains |
You can also Visit other tutorials of Embedded Prep
- What is eMMC (Embedded MultiMediaCard) memory ?
- Top 30+ I2C Interview Questions
- Bit Manipulation Interview Questions
- Structure and Union in c
- Little Endian vs. Big Endian: A Complete Guide
- Merge sort algorithm
Special thanks to @mr-raj for contributing to this article on EmbeddedPrep
Mr. Raj Kumar is a highly experienced Technical Content Engineer with 7 years of dedicated expertise in the intricate field of embedded systems. At Embedded Prep, Raj is at the forefront of creating and curating high-quality technical content designed to educate and empower aspiring and seasoned professionals in the embedded domain.
Throughout his career, Raj has honed a unique skill set that bridges the gap between deep technical understanding and effective communication. His work encompasses a wide range of educational materials, including in-depth tutorials, practical guides, course modules, and insightful articles focused on embedded hardware and software solutions. He possesses a strong grasp of embedded architectures, microcontrollers, real-time operating systems (RTOS), firmware development, and various communication protocols relevant to the embedded industry.
Raj is adept at collaborating closely with subject matter experts, engineers, and instructional designers to ensure the accuracy, completeness, and pedagogical effectiveness of the content. His meticulous attention to detail and commitment to clarity are instrumental in transforming complex embedded concepts into easily digestible and engaging learning experiences. At Embedded Prep, he plays a crucial role in building a robust knowledge base that helps learners master the complexities of embedded technologies.


Hello! Someone in my Myspace group shared this
site with us so I came to take a look. I’m definitely enjoying the information. I’m bookmarking and will be tweeting this
to my followers! Great blog and excellent style and design.