What is Booting?
Booting is like waking up your computer or embedded device. When you press the power button, the system must go from “just hardware” to a fully running operating system (OS) that can run applications.
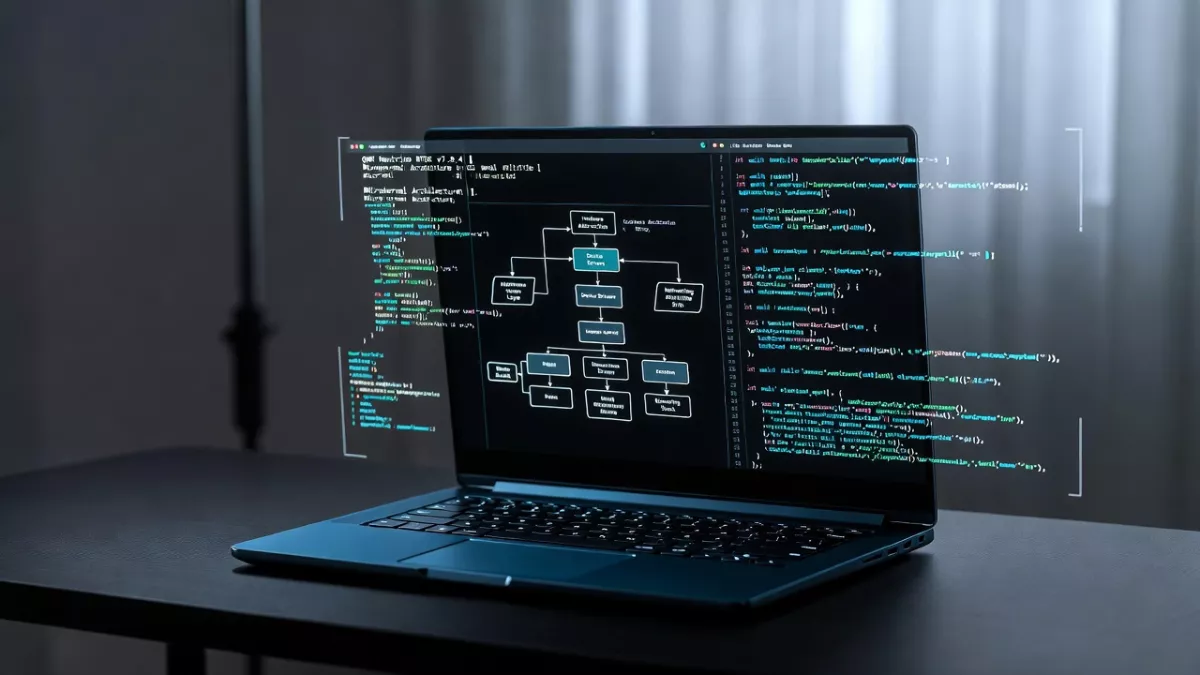
In QNX Neutrino, the boot process is modular and layered, and it’s built to give maximum flexibility, especially for embedded systems.
QNX Boot Process
The QNX boot process is highly customizable and optimized for real-time embedded
The QNX boot process involves several key steps to bring the system up from power-on to a fully operational state:
- Power-On and Bootloader: When the system is powered on, the bootloader is executed. It initializes the hardware (CPU, memory, peripherals) and loads the QNX kernel into memory.
- Kernel Loading: The QNX kernel is loaded and starts running. It manages system resources like memory, processes, and interrupts.
- System Initialization: The kernel initializes essential services, such as device drivers, file systems, and network services.
- User-Space Initialization: The system starts user-space processes and applications, often based on startup scripts. This includes services like login prompts and other essential applications.
- Normal Operation: The system enters its normal operational state, ready for user interaction and running background tasks.
Main Components in QNX Boot Sequence
Think of the QNX boot process like climbing a ladder. Each step builds on the one before it and gets closer to running real applications.
Here are the 3 main software pieces involved after the hardware powers up:
- IPL (Initial Program Loader)
- Startup Program
- OS Image (with Kernel and Scripts)
These parts are packaged together in something called an Image File System (IFS).
QNX Boot Process Steps (Simplified with Explanation)
Step 1: Hardware Initialization (Powering On)
- This is when the board turns on.
- The processor starts executing from a fixed address called the reset vector.
- Depending on the hardware, something like a BIOS (x86), UEFI, or U-Boot (ARM) runs first.
- These are low-level programs that check the system and hand over control to the QNX boot code.
Step 2: IPL – Initial Program Loader
- The IPL is the first piece of QNX software that runs.
- It’s very small and is hardware-specific (custom to your board or chip).
- The IPL’s job is to:
- Initialize just enough hardware (like RAM or flash).
- Load the rest of the QNX system from storage (like flash, SD card, etc.).
- Specifically, it loads the IFS (Image File System).
- Then, it passes control to the next step — the startup program.
🧠 Think of the IPL as the stage crew that sets the stage and curtain before the actors (OS) come in.
Step 3: Startup Program
- The startup program runs immediately after the IPL.
- It’s smarter than the IPL and does more complex hardware setup:
- Initializes memory mapping.
- Sets up interrupt controllers, timers, and CPU caches.
- Prepares the environment so the QNX kernel can start.
It’s still inside the IFS (Image File System) that was loaded by the IPL.
Step 4: OS Kernel (procnto)
- After startup finishes hardware setup, it hands control to the QNX microkernel (
procnto). procntoincludes:- The QNX kernel.
- The process manager (it handles creating and scheduling programs).
- The kernel reads a script from the IFS (defined in the buildfile) and begins launching:
- Drivers (e.g., for serial, USB, or storage).
- System processes (e.g., file systems).
- Initial applications (like the shell or custom software).
This is where QNX becomes a real operating system and starts managing resources, files, and communication.
What is an IFS (Image File System)?
- IFS = Bootable image that contains:
- The startup program
- The QNX kernel (procnto)
- Device drivers
- Startup scripts
- Libraries and initial apps
You can think of the IFS like a suitcase with everything QNX needs to boot up and get started.
You create an IFS using a buildfile and the tool mkifs.
How Is the QNX Boot Image Customized?
You can customize what goes into the IFS using a buildfile — a special text file that lists:
- What drivers and applications to include
- Which order to launch them
- Any environment variables or arguments
- File permissions and paths
Customization Steps:
- Write a Buildfile:
[virtual=x86,binary] .bootstrap = { startup-bios } [+script] startup-script.sh /procnto /devc-seromap /sbin/sh - Build the IFS:
mkifs buildfile.qnx image.ifs - Flash the IFS to your board or load it via U-Boot.
You control the boot sequence just by editing this buildfile — no need to recompile the entire OS.
💛 Support Embedded Prep
If you find our tutorials helpful and want to support our mission of sharing high-quality embedded system knowledge, you can contribute by buying us a coffee. Every small contribution helps us keep creating valuable content for learners like you. ☕
Thank you for your support — it truly keeps Embedded Prep growing. 💻✨
What Happens After QNX Boot?
Once everything in the IFS is running, you may still need to start large or complex applications after boot, especially if:
- Your app is made of multiple processes.
- Processes must start in a specific order.
- You want to manage failures or restarts.
For this, QNX provides:
SLM – System Launch and Monitor
- Think of it as a supervisor for apps.
- It can:
- Launch multiple apps in the correct order.
- Monitor them and restart if needed.
- Let you change startup order without touching the IFS.
Summary Table of QNX Boot Process
| Component | Purpose |
|---|---|
| IPL | Minimal code that loads the IFS (hardware-specific). |
| Startup | Sets up hardware (timers, cache, MMU) for the kernel. |
| Kernel (procnto) | Core of QNX; manages memory, processes, threads. |
| IFS | Boot image with startup, kernel, drivers, apps, scripts. |
| Buildfile | Text file that defines what goes in the IFS. |
| SLM | Tool to start complex apps after booting. |
Mr. Raj Kumar is a highly experienced Technical Content Engineer with 7 years of dedicated expertise in the intricate field of embedded systems. At Embedded Prep, Raj is at the forefront of creating and curating high-quality technical content designed to educate and empower aspiring and seasoned professionals in the embedded domain.
Throughout his career, Raj has honed a unique skill set that bridges the gap between deep technical understanding and effective communication. His work encompasses a wide range of educational materials, including in-depth tutorials, practical guides, course modules, and insightful articles focused on embedded hardware and software solutions. He possesses a strong grasp of embedded architectures, microcontrollers, real-time operating systems (RTOS), firmware development, and various communication protocols relevant to the embedded industry.
Raj is adept at collaborating closely with subject matter experts, engineers, and instructional designers to ensure the accuracy, completeness, and pedagogical effectiveness of the content. His meticulous attention to detail and commitment to clarity are instrumental in transforming complex embedded concepts into easily digestible and engaging learning experiences. At Embedded Prep, he plays a crucial role in building a robust knowledge base that helps learners master the complexities of embedded technologies.