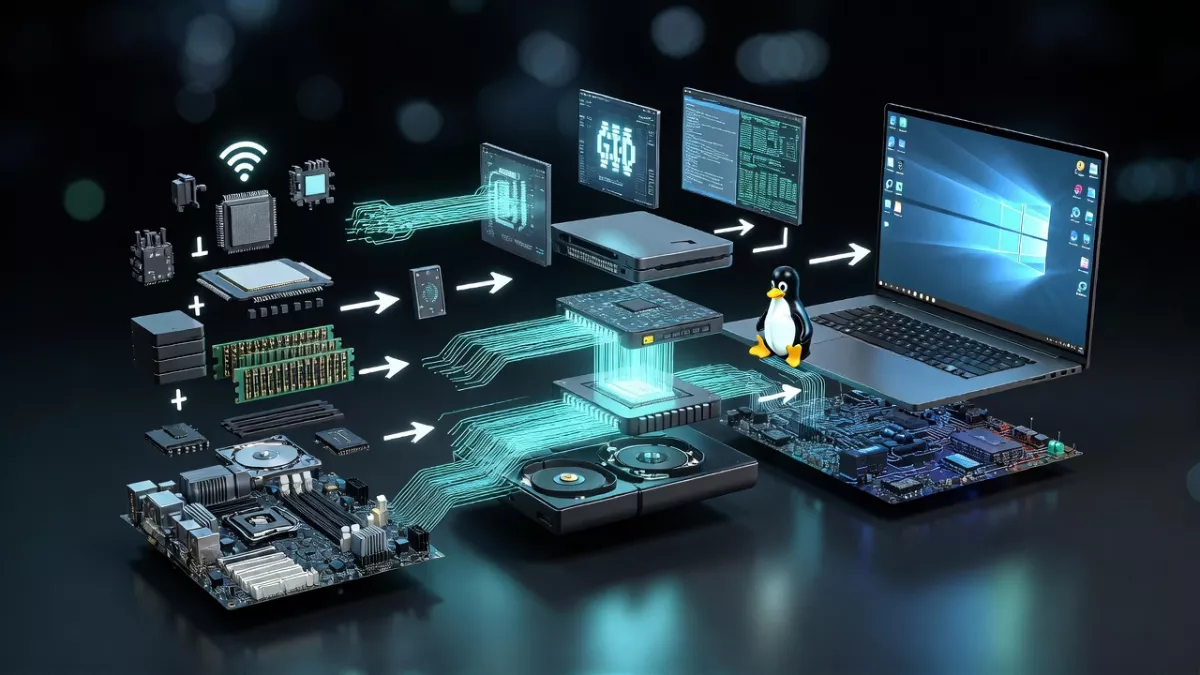
Raspberry Pi Linux boot process explained step by step, from power-on and GPU firmware to kernel loading, USB/SSD boot, and command-line or desktop login.
If you have ever powered on a Raspberry Pi and wondered what really happens before you see a login prompt or desktop, this article is for you. The Raspberry Pi Linux boot process is one of the most misunderstood parts of embedded Linux, yet it is also one of the most elegant once you see the full picture.
We will walk through the entire journey, step by step, starting from the instant power reaches the board, all the way to the Linux shell or desktop. Along the way, we will explore the role of the GPU, CPU, EEPROM, boot partitions, kernel loading, and modern boot options like USB, SSD, M.2, and even QEMU.
Why the Raspberry Pi Linux boot process is different
Before diving into steps, it helps to understand one key idea.
A Raspberry Pi does not boot like a PC.
On a typical PC, the CPU starts first, runs BIOS or UEFI firmware, and then loads an operating system. On a Raspberry Pi, the GPU wakes up before the CPU. This single design choice shapes everything else in the raspberry pi boot up sequence.
Think of the Raspberry Pi as a small system where the graphics processor acts like the stage manager. It sets up the stage before letting the main actor, the ARM CPU, begin its role.
Once you understand this, the entire boot flow becomes logical.
What happens the moment power is applied
The boot process begins earlier than most people think.
Power reaches the board
The moment you plug in the power cable, several things happen almost simultaneously:
- Power rails stabilize
- The SoC comes out of reset
- The VideoCore GPU becomes active
At this point, the ARM CPU is still asleep. It is not executing any instructions yet.
The GPU takes control first
This surprises many Linux users.
On Raspberry Pi boards, the GPU is responsible for the first stage of booting. The GPU has access to a small piece of immutable code stored inside the SoC itself. This code cannot be changed. Its only job is to look for the next boot stage.
This design is why the Raspberry Pi boot process feels different from x86 systems.
The role of the EEPROM and boot ROM
Boot ROM inside the SoC
Inside every Raspberry Pi SoC is a tiny boot ROM. This code knows how to talk to specific storage devices. Depending on the model, this includes:
- SD card
- USB devices
- Network boot
- SPI flash EEPROM
The boot ROM asks a simple question: where should I load the next bootloader from?
EEPROM on newer Raspberry Pi models
On Raspberry Pi 4 and newer boards, there is a dedicated EEPROM that stores bootloader firmware and boot order configuration.
This EEPROM defines:
- Which devices to try first
- Whether USB booting is allowed
- How fallback logic works
For example, the EEPROM might try SD card first, then USB, then network. This logic is central to features like booting a raspberry pi from usb or boot raspberry pi from usb drive without an SD card.
Older boards like Raspberry Pi 3 use a simpler approach but still rely on firmware files stored on the SD card.
If you are preparing your SD card or USB drive for the first time, using a simple tool like the Raspberry Pi Imager bootable media tool makes the entire Raspberry Pi Linux boot process much easier and less error-prone. You can learn how it works step by step here: Raspberry Pi Imager
Understanding the boot order logic
Boot order is not magic
When people ask why their Pi does not boot from USB, the answer is almost always about boot order.
The bootloader checks devices in a specific sequence. If it finds valid boot files on the first device, it stops searching.
This means:
- If an SD card is present and bootable, USB is ignored
- If the SD card is missing or invalid, USB boot may work
- EEPROM configuration controls this behavior
This logic applies whether you are trying to boot raspberry pi from usb stick, boot raspberry pi from usb hard drive, or boot raspberry pi from external ssd.
The raspberry pi boot partition explained clearly
Once a bootable device is selected, the GPU looks for a special partition.
What is the boot partition?
The raspberry pi boot partition is a small FAT32 partition at the start of the boot disk. This partition is readable by the GPU firmware.
Unlike Linux filesystems such as ext4, FAT32 is simple and widely supported. That is why it is used here.
Common files in the boot partition
Inside the boot partition, you typically find:
- bootcode.bin (older models)
- start.elf
- fixup.dat
- config.txt
- cmdline.txt
- kernel.img or kernel8.img
Each file has a specific role. Together, they form the bridge between firmware and Linux.
You can think of the raspberry pi boot disk as having two worlds:
- A firmware world that understands FAT
- A Linux world that lives in ext4
The boot partition is where these worlds meet.
Firmware files and what they actually do
start.elf and fixup.dat
These files are loaded by the GPU.
- start.elf initializes hardware
- fixup.dat adjusts memory layout and parameters
They prepare the system so the ARM CPU can safely run Linux.
config.txt as the control panel
The config.txt file is like a control panel for early boot.
Here you can configure:
- GPU memory split
- HDMI behavior
- Enable UART
- Overlay hardware drivers
- Control boot mode
Changes here affect the raspberry pi boot up before Linux even starts.
cmdline.txt sets the kernel instructions
cmdline.txt is passed directly to the Linux kernel.
It tells Linux:
- Where the root filesystem is
- Which console to use
- Whether to boot raspberry pi to command line or graphical desktop
This single line file has a huge impact on how your system behaves.
How the Linux kernel is loaded
GPU hands control to the CPU
Once firmware setup is complete, the GPU loads the Linux kernel image into RAM and finally wakes up the ARM CPU.
This is the moment Linux truly begins.
From this point on, the process looks much more like a traditional Linux boot.
Kernel decompression and initialization
The kernel:
- Decompresses itself
- Initializes memory management
- Sets up interrupts
- Detects CPUs and peripherals
- Mounts a temporary root filesystem
If something goes wrong here, the system usually hangs silently. This is why serial console access is so valuable for debugging.
From kernel to init and systemd
The init process
After the kernel finishes its early setup, it launches the first user-space process.
This process is called init.
On modern Raspberry Pi OS and most Linux distributions, init is provided by systemd.
What systemd does
systemd:
- Mounts the real root filesystem
- Starts system services
- Brings up networking
- Launches login services
- Starts the desktop if configured
At this stage, Linux is fully in control. Firmware and GPU involvement is minimal.
Booting to command line vs desktop
Boot raspberry pi to command line
Many developers prefer a terminal-only system.
This is lighter, faster, and ideal for servers or embedded work.
You can configure this by:
- Changing systemd targets
- Adjusting Raspberry Pi OS settings
- Editing boot options
When you boot raspberry pi to command line, systemd stops after starting the console login service.
Booting into a desktop environment
If configured, systemd launches a display manager and desktop environment.
This adds:
- More services
- GPU acceleration
- Longer boot times
The choice depends on your use case. The boot process itself is the same up to this point.
Booting a Raspberry Pi from USB explained properly
USB booting deserves special attention because it is a common goal and a common source of confusion.
Booting a raspberry pi from usb on Raspberry Pi 4
Raspberry Pi 4 supports USB boot natively via EEPROM.
This allows:
- Boot raspberry pi from usb drive
- Boot raspberry pi from usb stick
- Boot raspberry pi from usb hard drive
- Boot raspberry pi from external ssd
The process is identical to SD card boot, except the storage device is different.
Boot raspberry pi 3 from usb
Raspberry Pi 3 supports USB boot but requires a one-time OTP configuration bit to be set.
Once enabled:
- The GPU firmware will try USB after SD
- Performance is lower than Pi 4
- Compatibility depends on USB device firmware
This is why boot raspberry pi 3 from usb can feel less reliable.
Booting from SSD and M.2 storage
Raspberry pi boot from external ssd
Booting from an SSD improves:
- Boot time
- Application load speed
- System responsiveness
The SSD is connected via USB, so the bottleneck is the USB controller.
Boot raspberry pi 4 from m.2 ssd
An M.2 SSD connected via a USB adapter or PCIe bridge works similarly.
While the Pi does not have native M.2 slots, modern adapters make this setup popular.
From a boot perspective:
- The firmware sees a USB mass storage device
- The rest of the process is unchanged
SD card vs USB vs SSD boot flow
The boot flow is identical
This is an important insight.
Whether you boot from:
- SD card
- USB stick
- USB hard drive
- External SSD
The boot stages remain the same.
Only the physical storage device changes.
This means that troubleshooting boot issues is mostly about:
- Firmware files
- Partition layout
- EEPROM configuration
Not about Linux itself.
qemu boot raspberry pi image explained
Why QEMU is different
When you qemu boot raspberry pi image, you are emulating hardware.
This means:
- No real GPU firmware
- No EEPROM
- Different boot chain
QEMU typically boots directly into the kernel, bypassing GPU stages.
This is useful for:
- Kernel development
- Root filesystem testing
- CI environments
But it does not fully represent real hardware behavior.
If your image works in QEMU but not on real hardware, the issue is often in firmware or boot partition setup.
Common boot issues and how to think about them
No display output
Think in stages.
- No HDMI signal at all usually means firmware did not load
- Rainbow screen means GPU firmware started but kernel did not
- Text output but freeze means kernel issue
Blinking LED patterns
The activity LED communicates boot errors.
Different blink patterns indicate:
- Missing files
- Corrupt boot partition
- Unsupported filesystem
Understanding these patterns saves hours of guessing.
USB device not detected
Ask yourself:
- Is EEPROM boot order correct?
- Does the USB device initialize fast enough?
- Is the power supply sufficient?
Booting from SSD draws more power than SD cards.
Thinking like the bootloader
One of the best ways to master the raspberry pi linux boot process is to think like the firmware.
At each step, ask:
- What device am I checking?
- What file do I expect?
- What happens if it is missing?
This mindset turns boot failures into solvable puzzles.
Why understanding the boot process makes you better at Linux
This is more than trivia.
Understanding boot flow helps you:
- Debug early boot issues
- Optimize startup time
- Customize embedded systems
- Confidently use USB and SSD boot
- Work with init systems and kernels
For anyone serious about Linux or embedded development, this knowledge pays off every day.
Final thoughts
The Raspberry Pi Linux boot process is not mysterious once you see it clearly. It is a carefully layered sequence that starts with immutable hardware code, flows through firmware and boot partitions, and ends with a familiar Linux user space.
Whether you are powering on a fresh board, booting a raspberry pi from usb, configuring an external SSD, or experimenting with QEMU, the same principles apply.
Once you understand who is in control at each stage, you stop fighting the system and start working with it.
That is the moment when the Raspberry Pi stops feeling like a black box and starts feeling like a tool you truly understand.
FAQ of Raspberry Pi Linux boot process :
What is the Raspberry Pi Linux boot process?
The Raspberry Pi Linux boot process is the sequence of steps that starts when power is applied to the board and ends when Linux presents a login shell or desktop. It begins with the GPU firmware, not the CPU, loads boot files from the boot partition, starts the Linux kernel, and finally launches system services using init or systemd.
Why does the GPU start before the CPU on a Raspberry Pi?
On a Raspberry Pi, the GPU is responsible for the first stage of booting. The ARM CPU remains inactive until the GPU firmware loads the Linux kernel into memory. This design allows the GPU to initialize hardware, manage memory layout, and select the boot device before Linux starts.
What happens immediately after powering on a Raspberry Pi?
As soon as power is applied, the GPU executes code from the boot ROM. It looks for firmware files on the configured boot device such as an SD card or USB storage. Once these files are found and loaded, the GPU prepares the system and hands control to the ARM CPU.
What is the Raspberry Pi boot partition?
The Raspberry Pi boot partition is a small FAT32 partition that contains firmware and configuration files required for booting. Files like start.elf, config.txt, cmdline.txt, and the Linux kernel image are stored here. This partition is essential for every Raspberry Pi Linux boot process.
What is stored in the Raspberry Pi boot disk?
A Raspberry Pi boot disk contains at least two partitions. The first is the boot partition used by the GPU firmware. The second is the Linux root filesystem where the operating system resides. Both partitions work together to complete the boot process.
How does the Raspberry Pi decide which device to boot from?
The boot device order is defined by firmware logic and EEPROM configuration. Depending on the model, the Raspberry Pi may try an SD card first, then USB devices, and then network boot. This logic controls scenarios like booting a Raspberry Pi from USB or external SSD.
Can I boot a Raspberry Pi from USB instead of an SD card?
Yes, modern Raspberry Pi models support booting a Raspberry Pi from USB. This includes booting from a USB stick, USB hard drive, or external SSD. Raspberry Pi 4 supports USB boot by default through EEPROM firmware, while Raspberry Pi 3 requires a one-time configuration change.
How does booting a Raspberry Pi from USB work internally?
When booting a Raspberry Pi from USB, the GPU firmware searches the USB device for a valid boot partition. If found, it loads firmware files and the Linux kernel just like it would from an SD card. The rest of the Linux boot process remains unchanged.
Is booting a Raspberry Pi from an SSD faster than an SD card?
Yes, booting a Raspberry Pi from an external SSD usually results in faster boot times, quicker application launches, and better overall performance. The boot process is the same, but the storage device provides higher read and write speeds.
Can the Raspberry Pi 4 boot from an M.2 SSD?
The Raspberry Pi 4 can boot from an M.2 SSD using a USB adapter or compatible expansion board. From the firmware perspective, the M.2 SSD appears as a USB mass storage device, allowing the Raspberry Pi Linux boot process to proceed normally.
How do I boot a Raspberry Pi directly to the command line?
You can boot a Raspberry Pi to the command line by configuring the system to stop at the console login instead of starting a desktop environment. This reduces boot time and is commonly used for servers, embedded systems, and development work.
What role does the Linux kernel play in the boot process?
The Linux kernel is loaded by the GPU firmware and is responsible for initializing hardware, managing memory, detecting devices, and starting user-space processes. Once the kernel runs, the Raspberry Pi behaves like any other Linux system.
What is init and how does systemd fit into the boot process?
After the kernel finishes initializing, it launches the init process. On most Raspberry Pi Linux systems, init is provided by systemd. systemd starts system services, mounts filesystems, configures networking, and eventually presents a login prompt or desktop.
Why does my Raspberry Pi show a blank screen during boot?
A blank screen usually means the boot process failed before the Linux kernel started. This can be caused by missing firmware files, an incorrect boot partition, incompatible display settings, or power supply issues.
What is the difference between SD card boot and USB boot on Raspberry Pi?
The difference lies only in the storage device. The Raspberry Pi Linux boot process itself remains the same. The GPU firmware loads boot files from either the SD card or USB storage depending on boot order configuration.
How does QEMU boot a Raspberry Pi image?
When you qemu boot a Raspberry Pi image, the hardware is emulated. The GPU firmware stage is skipped, and QEMU usually loads the kernel directly. This is useful for testing and development but does not perfectly replicate real hardware behavior.
Why does a Raspberry Pi fail to boot from USB sometimes?
Common reasons include incorrect EEPROM boot order, incompatible USB devices, insufficient power, or missing boot files. Understanding each stage of the Raspberry Pi Linux boot process helps diagnose these issues quickly.
Is understanding the Raspberry Pi Linux boot process useful for beginners?
Yes. Understanding the boot process helps beginners troubleshoot issues, configure storage options, and gain confidence working with Linux. It also lays a strong foundation for advanced topics like kernel development and embedded systems.
Mr. Raj Kumar is a highly experienced Technical Content Engineer with 7 years of dedicated expertise in the intricate field of embedded systems. At Embedded Prep, Raj is at the forefront of creating and curating high-quality technical content designed to educate and empower aspiring and seasoned professionals in the embedded domain.
Throughout his career, Raj has honed a unique skill set that bridges the gap between deep technical understanding and effective communication. His work encompasses a wide range of educational materials, including in-depth tutorials, practical guides, course modules, and insightful articles focused on embedded hardware and software solutions. He possesses a strong grasp of embedded architectures, microcontrollers, real-time operating systems (RTOS), firmware development, and various communication protocols relevant to the embedded industry.
Raj is adept at collaborating closely with subject matter experts, engineers, and instructional designers to ensure the accuracy, completeness, and pedagogical effectiveness of the content. His meticulous attention to detail and commitment to clarity are instrumental in transforming complex embedded concepts into easily digestible and engaging learning experiences. At Embedded Prep, he plays a crucial role in building a robust knowledge base that helps learners master the complexities of embedded technologies.