Step-by-step guide to configure headless Raspberry Pi: setup WiFi, enable SSH, troubleshoot, and manage your Pi without a monitor easily.
Learn how to configure headless Raspberry Pi step by step in this comprehensive guide, perfect for beginners and advanced users alike. Discover how to set up Raspberry Pi without a monitor, enable SSH, configure WiFi, and connect remotely. Explore practical tips, troubleshooting techniques, and advanced configurations to maximize your Raspberry Pi’s potential. Whether you’re building IoT projects, servers, or automation tools, this guide makes headless Raspberry Pi setup easy, efficient, and secure. Follow our easy-to-understand instructions and get your Raspberry Pi running smoothly today!
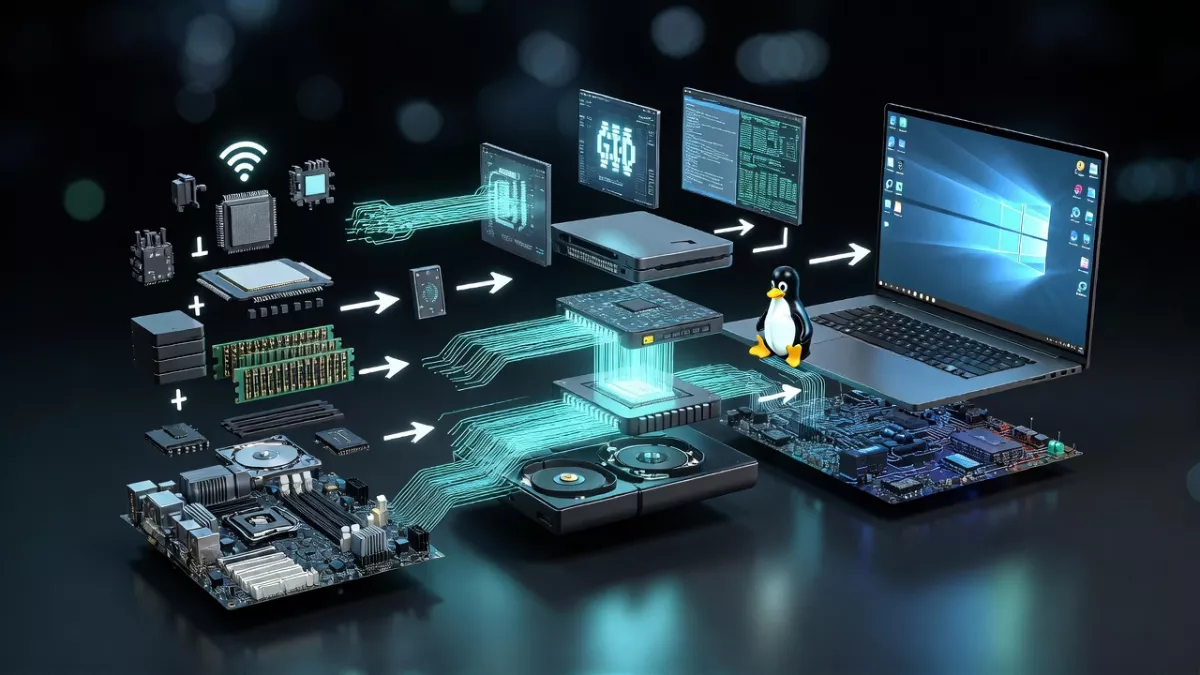
Introduction : What is Headless Raspberry Pi and Why Use It?
A headless Raspberry Pi is a Raspberry Pi that runs without a monitor, keyboard, or mouse. You interact with it entirely over a network using SSH (Secure Shell) or remote desktop tools. This setup is perfect if you want to save desk space, run your Pi as a server, automate tasks, or manage it remotely from anywhere.
Why go headless?
- Convenience: No need for a dedicated monitor or keyboard.
- Remote management: Control your Pi from another computer or smartphone.
- Efficiency: Ideal for servers, IoT projects, and embedded applications.
- Cost-effective: Avoid buying extra peripherals.
In this guide, we’ll cover everything you need to know to configure headless Raspberry Pi from scratch, whether you’re a beginner or want to dive deeper.
Prerequisites : Hardware, SD Card, Power, Network, Tools
Before diving in, make sure you have the following:
Hardware
- Raspberry Pi (any model with WiFi for wireless setup, e.g., Pi 3, Pi 4, Pi Zero W)
- MicroSD card (minimum 8GB recommended, Class 10 for better speed)
- MicroSD card reader (for your PC)
- Power supply compatible with your Pi
- Ethernet cable (optional, for wired setup)
Network
- WiFi network (SSID and password)
- Router allowing devices to connect via DHCP
Software & Tools
- Computer running Windows, macOS, or Linux
- Raspberry Pi Imager (official download link)
- SSH client (built-in on Linux/macOS; Windows users can use PowerShell or PuTTY)
Preparing the SD Card : Flashing Raspberry Pi OS
Step 1: Download Raspberry Pi OS
- Go to Raspberry Pi Downloads.
- Choose Raspberry Pi OS (32-bit) Lite for a headless setup (minimal image, no desktop environment).
Step 2: Flash the OS
- Insert the SD card into your computer.
- Open Raspberry Pi Imager.
- Click Choose OS → select Raspberry Pi OS Lite.
- Click Choose Storage → select your SD card.
- Click Write and wait for completion.
Tip: Verify the write with checksum if Raspberry Pi Imager offers the option.
Enabling SSH and WiFi for Headless Access
Step 1: Enable SSH
By default, Raspberry Pi OS disables SSH. To enable it:
- After flashing, open the SD card on your computer.
- In the root directory, create a file named
ssh(no extension).
Step 2: Configure WiFi
- In the same root directory, create a file called
wpa_supplicant.conf. - Add the following content:
country=US
ctrl_interface=DIR=/var/run/wpa_supplicant GROUP=netdev
update_config=1

network={
    ssid="YOUR_WIFI_SSID"
    psk="YOUR_WIFI_PASSWORD"
    key_mgmt=WPA-PSK
}
- Save and safely eject the SD card.
Replace
YOUR_WIFI_SSIDandYOUR_WIFI_PASSWORDwith your network credentials.
When working with a headless Raspberry Pi, understanding how your device boots from the SD card can save you a lot of troubleshooting time. The boot sequence determines how the Pi loads its operating system and initializes hardware before you even connect via SSH. For a detailed, step-by-step explanation of this process, check out this comprehensive guide on how Raspberry Pi boots from SD card.
By following the insights in that guide, you can better manage headless Raspberry Pi setups, optimize boot times, and ensure your SD card is correctly configured for first-time use. This is especially useful if you’re planning advanced projects, like remote servers or IoT applications, where every boot counts.
Booting Raspberry Pi Headless for the First Time
- Insert the SD card into the Raspberry Pi.
- Connect power.
- Wait 1-2 minutes for the initial boot.
Finding the Pi on Your Network
- Option 1: Check your router’s connected devices page.
- Option 2: Use a network scanning tool like
nmap:
nmap -sn 192.168.1.0/24Look for a device named raspberrypi.
Connecting via SSH and Initial Configuration
Step 1: SSH Connection
On Linux/macOS terminal or Windows PowerShell:
ssh pi@raspberrypi.localor, if using IP address:
ssh pi@192.168.1.10- Default username:
pi - Default password:
raspberry
Step 2: Change Default Password
Immediately change your password for security:
passwdStep 3: Basic Configuration
Run Raspberry Pi configuration tool:
sudo raspi-config- Expand filesystem
- Change hostname
- Configure locale, timezone, and keyboard
- Enable additional interfaces if needed (I2C, SPI)
Common Issues and Troubleshooting Headless Setup
1. Cannot SSH
- Make sure the
sshfile exists on SD card - Verify WiFi credentials in
wpa_supplicant.conf - Check Pi’s IP address using router or
nmap
2. Pi Not Connecting to WiFi
- Confirm country code is correct in
wpa_supplicant.conf - Ensure router supports 2.4 GHz (some Pi models don’t support 5 GHz for headless setup)
3. Hostname Not Resolving
- Use IP address instead of
raspberrypi.local - On Windows, install Bonjour Print Services for
.localresolution
4. SD Card Issues
- Reformat SD card and re-flash OS
- Use a higher quality card (Class 10 or UHS-I)
Tips and Best Practices for Headless Raspberry Pi
- Use static IP: Easier to connect remotely
- Enable fail2ban: Protect SSH from brute-force attacks
- Back up SD card regularly: Use
ddor Pi-specific tools - Update packages:
sudo apt update && sudo apt upgrade -y- Use aliases: Shortcuts for frequent commands
Advanced Configurations for Experienced Users
1. Remote Desktop
Install xrdp to access a GUI over network:
sudo apt install xrdp -yConnect using Windows Remote Desktop or Remmina on Linux.
2. Headless Raspberry Pi WiFi Setup Without Monitor
Use USB Ethernet gadget on Pi Zero or Pi 4 to configure WiFi headlessly before first boot.
3. Port Forwarding for Remote Access
Configure router to forward SSH or VPN for remote control outside LAN.
4. Automation and Scripts
- Use
cronjobs for scheduled tasks - Deploy Python scripts or Node-RED flows for IoT projects
5. Docker on Headless Pi
Run containers for services like Home Assistant, Pi-hole, or web servers.
FAQs of Configure Headless Raspberry Pi
1.How do I setup Raspberry Pi headless?
You flash Raspberry Pi OS on an SD card, enable SSH by creating an ssh file, configure WiFi in wpa_supplicant.conf, then boot the Pi and connect via SSH.
2.Can I run Raspberry Pi without monitor?
Yes! That’s exactly what a headless Raspberry Pi setup allows. Use SSH or remote desktop to manage it.
3.How do I enable SSH headless Raspberry Pi?
Create an empty file named ssh in the root of the SD card. On first boot, SSH will be enabled automatically.
4.How do I perform Raspberry Pi headless WiFi setup?
Create wpa_supplicant.conf with your WiFi credentials in the root directory of the SD card before first boot.
5.Why isn’t my Raspberry Pi headless setup working?
Check SD card flashing, SSH file, WiFi credentials, and IP address. Also ensure Pi has proper power and your router supports the connection.
6.Can I change Raspberry Pi headless hostname?
Yes, use sudo raspi-config → Network Options → Hostname.
7.How do I find Raspberry Pi IP for headless setup?
Use nmap -sn <your-network-subnet> or check your router’s connected devices list.
Conclusion
Setting up a headless Raspberry Pi might sound tricky at first, but with the right steps, it’s straightforward. From preparing the SD card to connecting via SSH and configuring advanced features, this guide covers everything to get you started and productive.
Once configured, a headless Pi opens up endless possibilities: home automation, servers, IoT projects, and remote learning. Remember to follow best practices like changing default passwords, backing up SD cards, and securing SSH.
For more details and official resources, check the Raspberry Pi Documentation. Now grab your Pi, flash that SD card, and enjoy your headless Raspberry Pi adventure!
Mr. Raj Kumar is a highly experienced Technical Content Engineer with 7 years of dedicated expertise in the intricate field of embedded systems. At Embedded Prep, Raj is at the forefront of creating and curating high-quality technical content designed to educate and empower aspiring and seasoned professionals in the embedded domain.
Throughout his career, Raj has honed a unique skill set that bridges the gap between deep technical understanding and effective communication. His work encompasses a wide range of educational materials, including in-depth tutorials, practical guides, course modules, and insightful articles focused on embedded hardware and software solutions. He possesses a strong grasp of embedded architectures, microcontrollers, real-time operating systems (RTOS), firmware development, and various communication protocols relevant to the embedded industry.
Raj is adept at collaborating closely with subject matter experts, engineers, and instructional designers to ensure the accuracy, completeness, and pedagogical effectiveness of the content. His meticulous attention to detail and commitment to clarity are instrumental in transforming complex embedded concepts into easily digestible and engaging learning experiences. At Embedded Prep, he plays a crucial role in building a robust knowledge base that helps learners master the complexities of embedded technologies.